I started this evening’s sewing a little past 7:30, having had a friend over for wine & chats. She amusingly compared my sewing efforts to an agile project management approach, with the finished product evolving as the project goes on. I am the user, apparently, so I have to decide what my minimum viable product is, and what features are “above the line”. Apparently my seam allowance problems were “bugs” lol. So tonight’s “sprint” was supposed to be about putting together the midriff and designing/cutting sleeve pieces.
I may be a shitty project team, lol. My timelines are stretching. I no longer think I will be able to complete this in order to wear it this coming Monday. It has crossed my mind to put this aside and do something simple and straightforward to wear on Monday… that may still happen, but we’ll see how things go tomorrow night.
So tonight I was planning to sew the midriff together at one of the side seams (leaving the other open for the side zipper), put the piping on, and then attach the midriff to the bodice. Oddly, the instructions for this pattern (yes they exist! But more as a guideline at this point) say to construct the skirt before the midriff but I can’t see a logical reason why. I’ll probably discover that in the near future, necessitating more seam-ripping. Anyhow, as I am now doing a side zipper and bias-cut for the midriff, I had to re-cut the back without a centre back, on the bias. I am running low on fabric! And then I pinned my pieces onto the bodice and DAMNIT they do not fit. There is too much fabric in the bodice, and I don’t want to ease the bodice into the midriff cuz it’ll look janky. BUT I can change the dimensions of the bodice by adjusting the side seams and the front overlap. (Hey I just realized I don’t think I’ve shared what pattern I’m using… here it is, Vogue 1183.)
Fitting the bodice was a bit of a shock… I really have to be careful with the fitting on this because the front slit could easily turn into hoochie-mama territory if there isn’t enough overlap. If there is too much overlap, however, the grainline is pulled askew and it looks awful. This is where all that time I spent on the FBA (full bust adjustment) is supposed to pay off, but it’s really hard to see whether it works. There are no photos of this stage but let’s say there could be a whole lot of cleavage if I don’t handle this right.
I was about to cut a new midriff, then realized I may be running out of fabric I can use for the sleeves. So I started to work on drafting the sleeve. Given my lack of fabric, I’m going to bypass the tulip sleeve idea this time and go with a very simple cap sleeve.

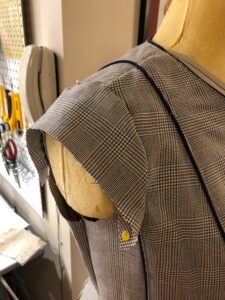
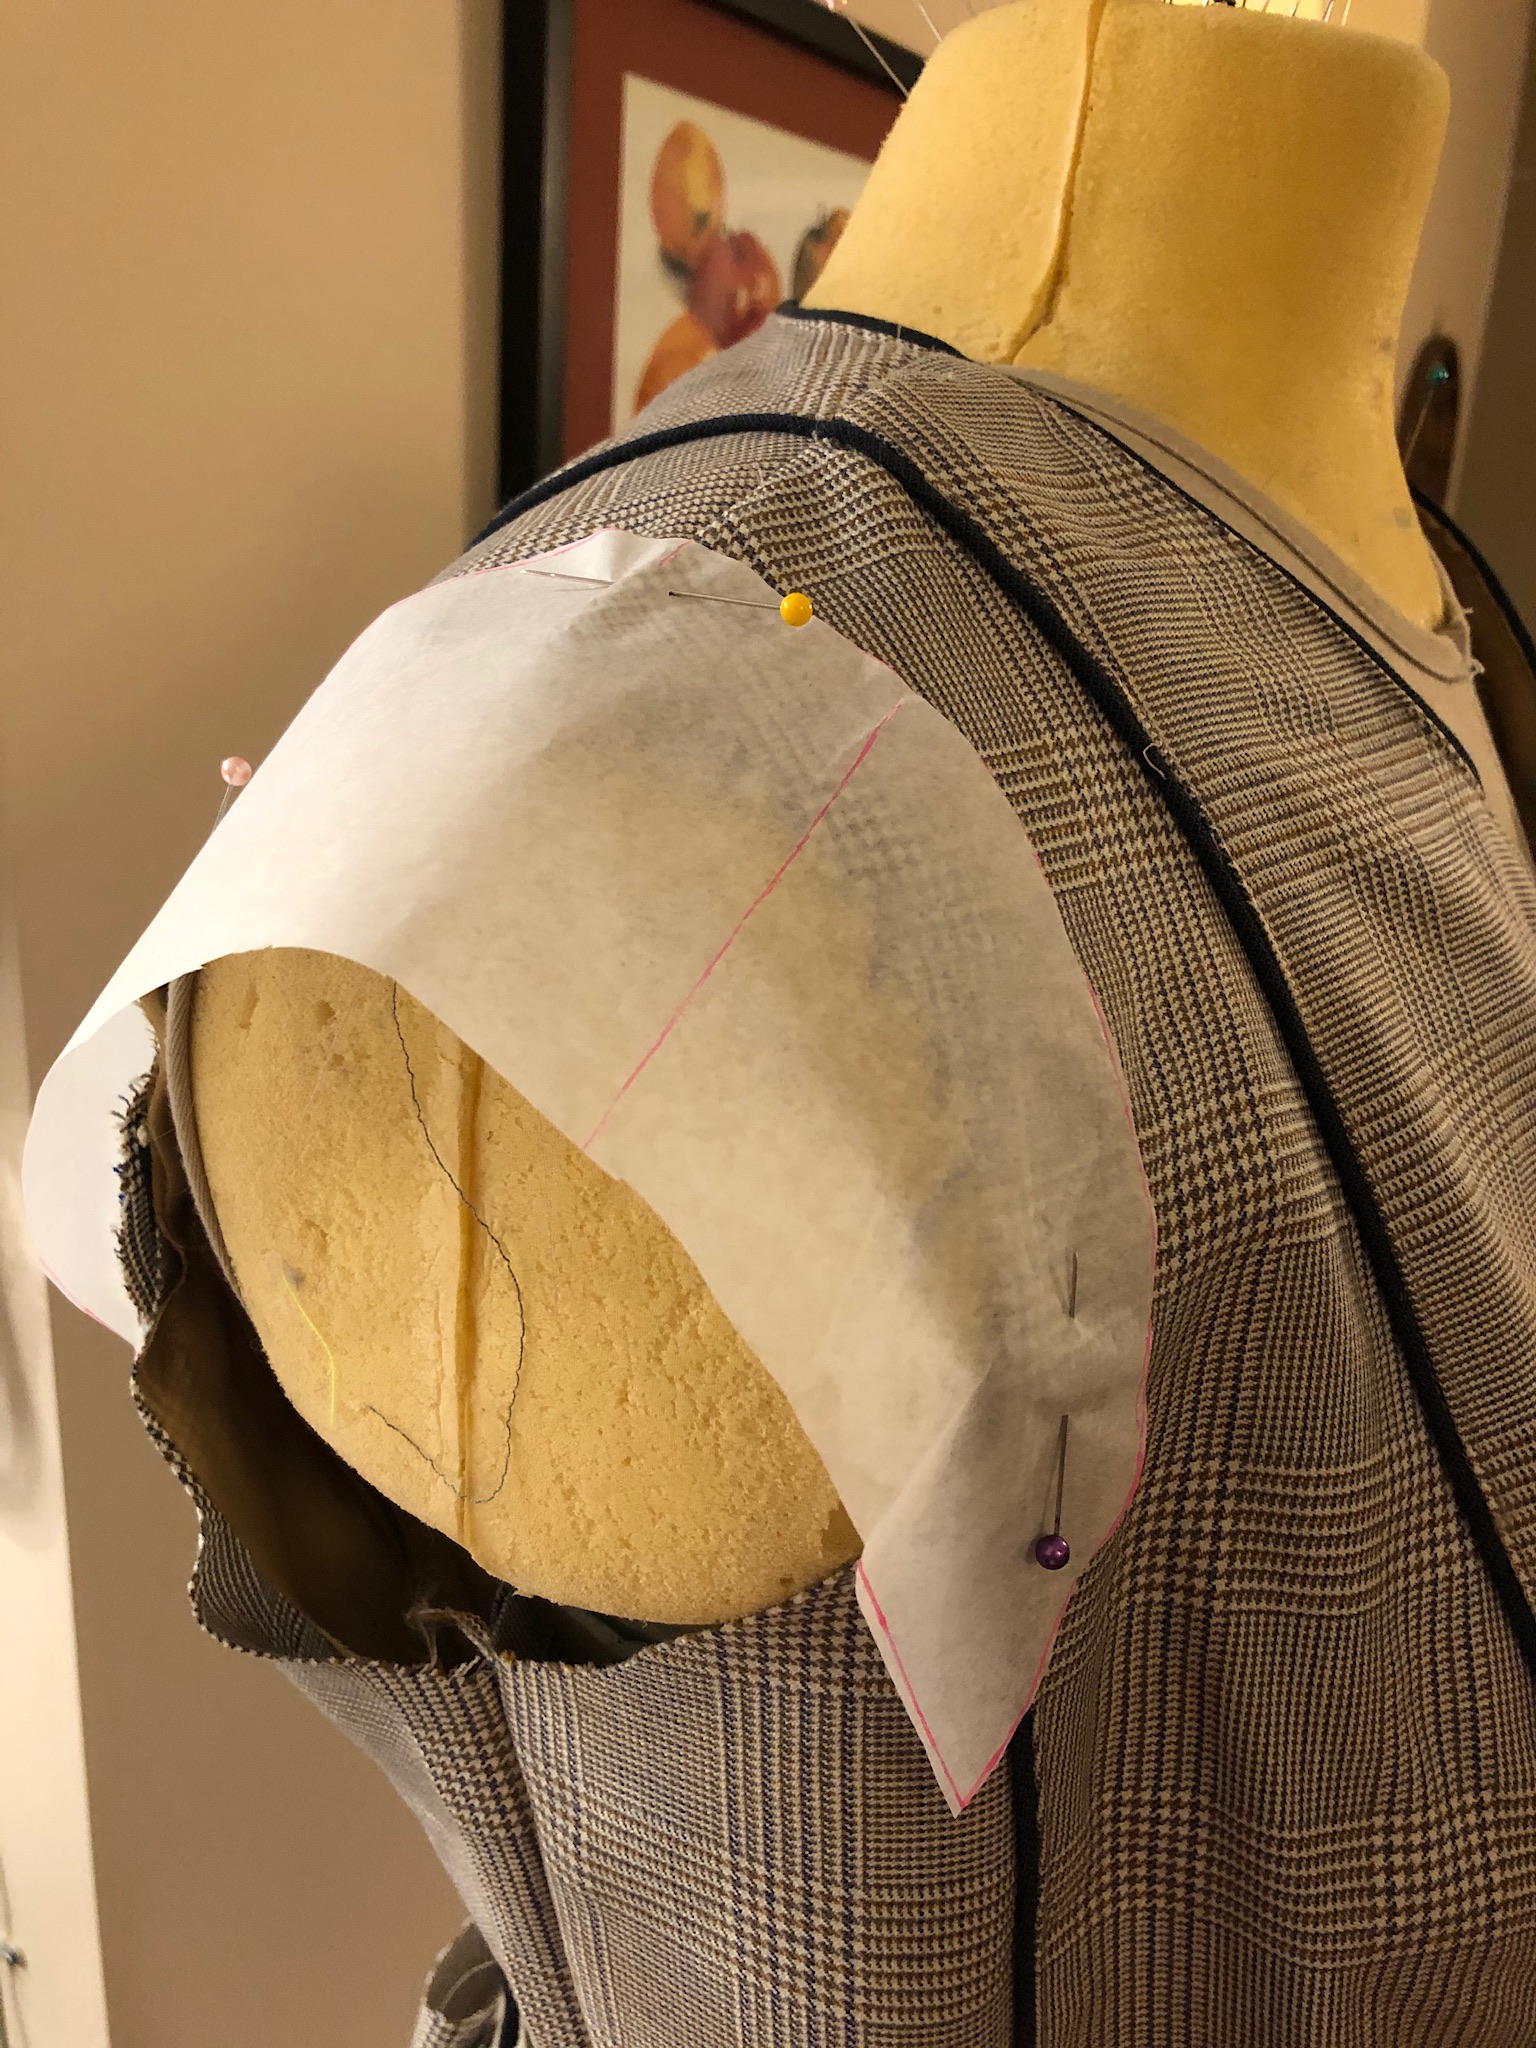
I began with a sleeve piece nicked from a random pattern off my shelf and traced off the sleeve cap, then promptly slashed it to ribbons and taped it back up until I got this shape (roughly). I want the top and bottom of the sleeve to align with the piping from the side front and side back seams, because I am a fool who enjoys self-torture like matching up seams and piping on an armhole. It only took two versions of the paper pattern piece (and one episode of Project Runway from season 17) to get it right! And I think I even have enough for seam allowance. I’ve tried this on a couple of times and I think it will nicely show off the shape of my shoulders without making them look broad.

Matching up the stripes on the sleeve is something I’ll try to do for the front, but I am not going to get too freaky about it.
I was thinking of putting piping into the shoulder seam, but I think it is better for my sanity if I only try to pipe the bottom of the sleeve and then the lower part of the armhole. However, that might also emphasize broad shoulders so there will be some more design humming and hawing tomorrow.
Yeah, I’m so not getting this done by next Monday. Not unless I sew all bloody weekend, but I have family things to do, and my lover-man probably wants to see me not covered in thread with pins sticking out of my mouth.

