Adventure Brassie Joggers
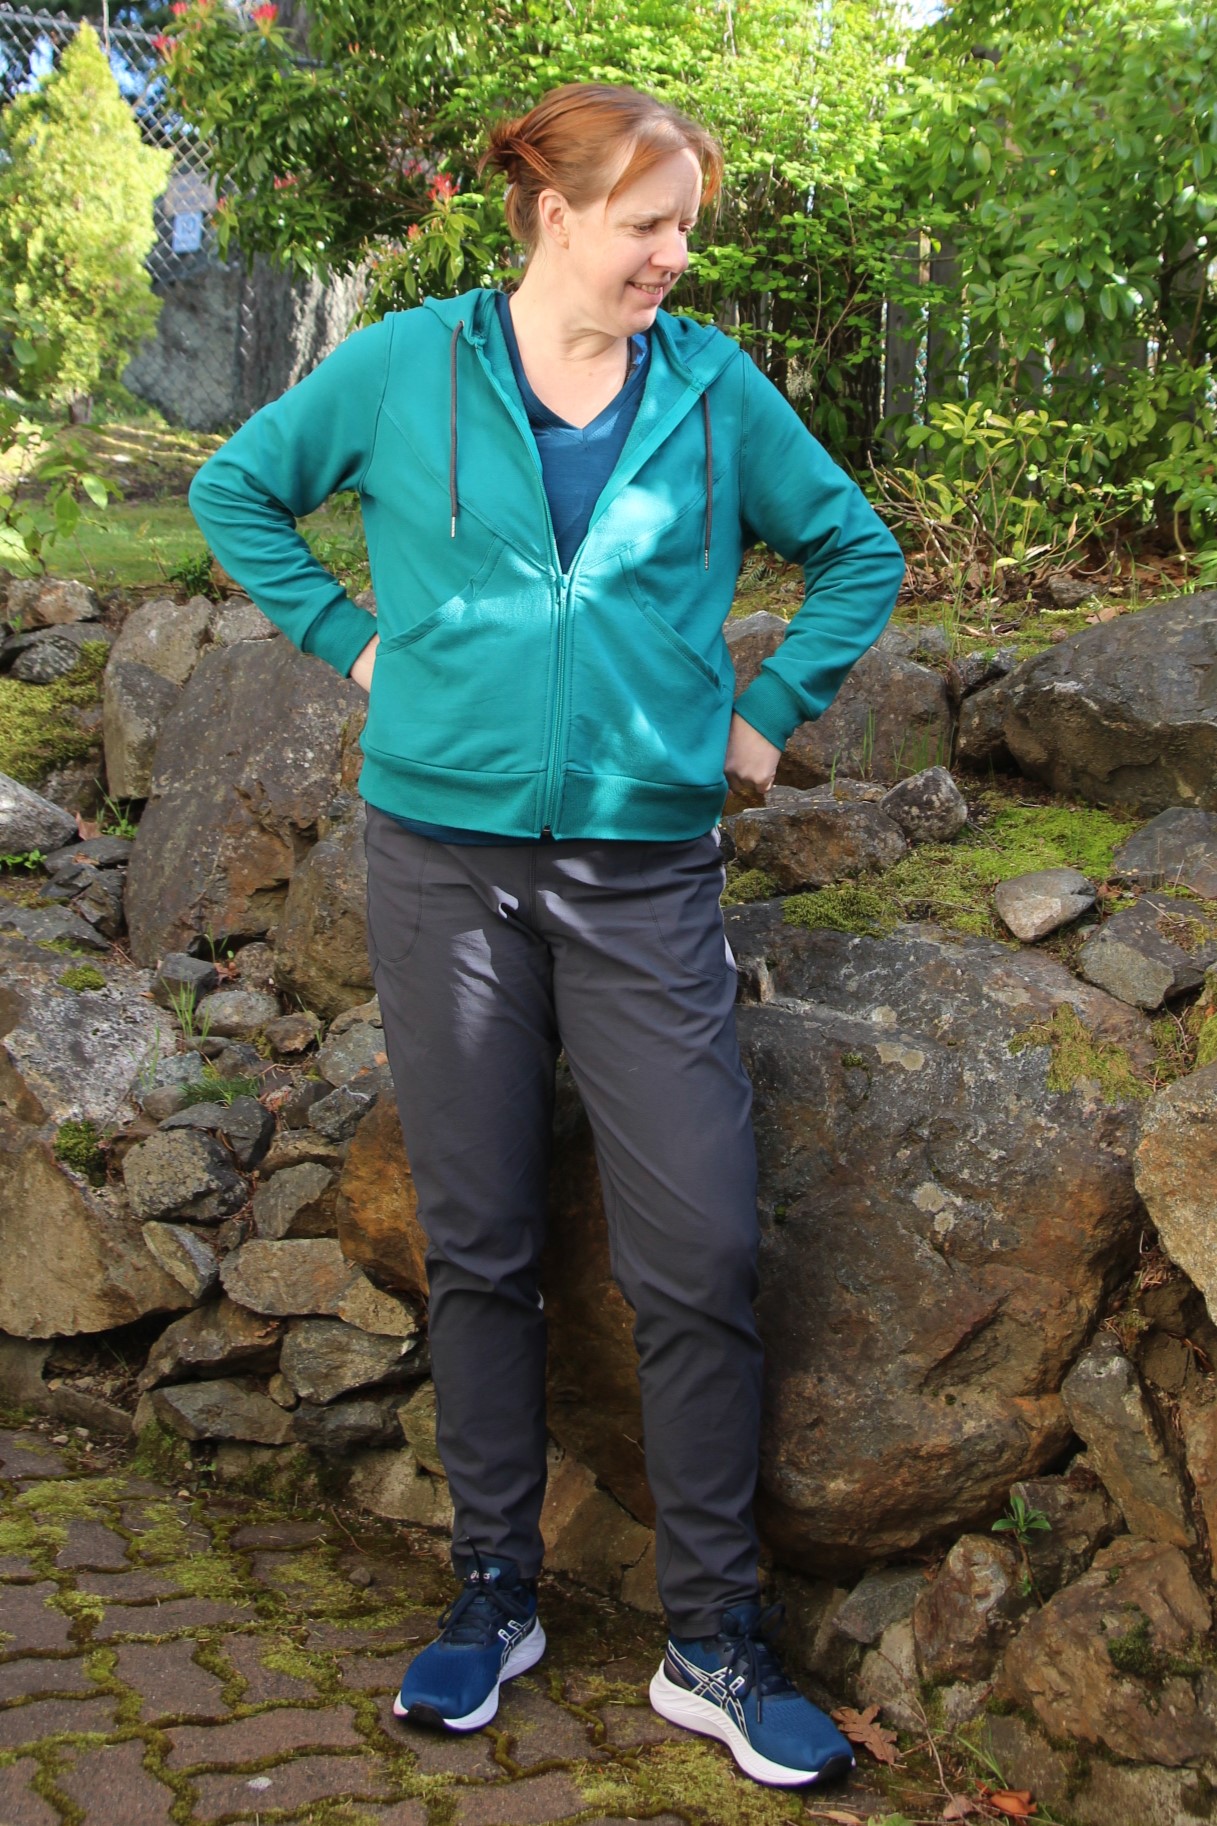
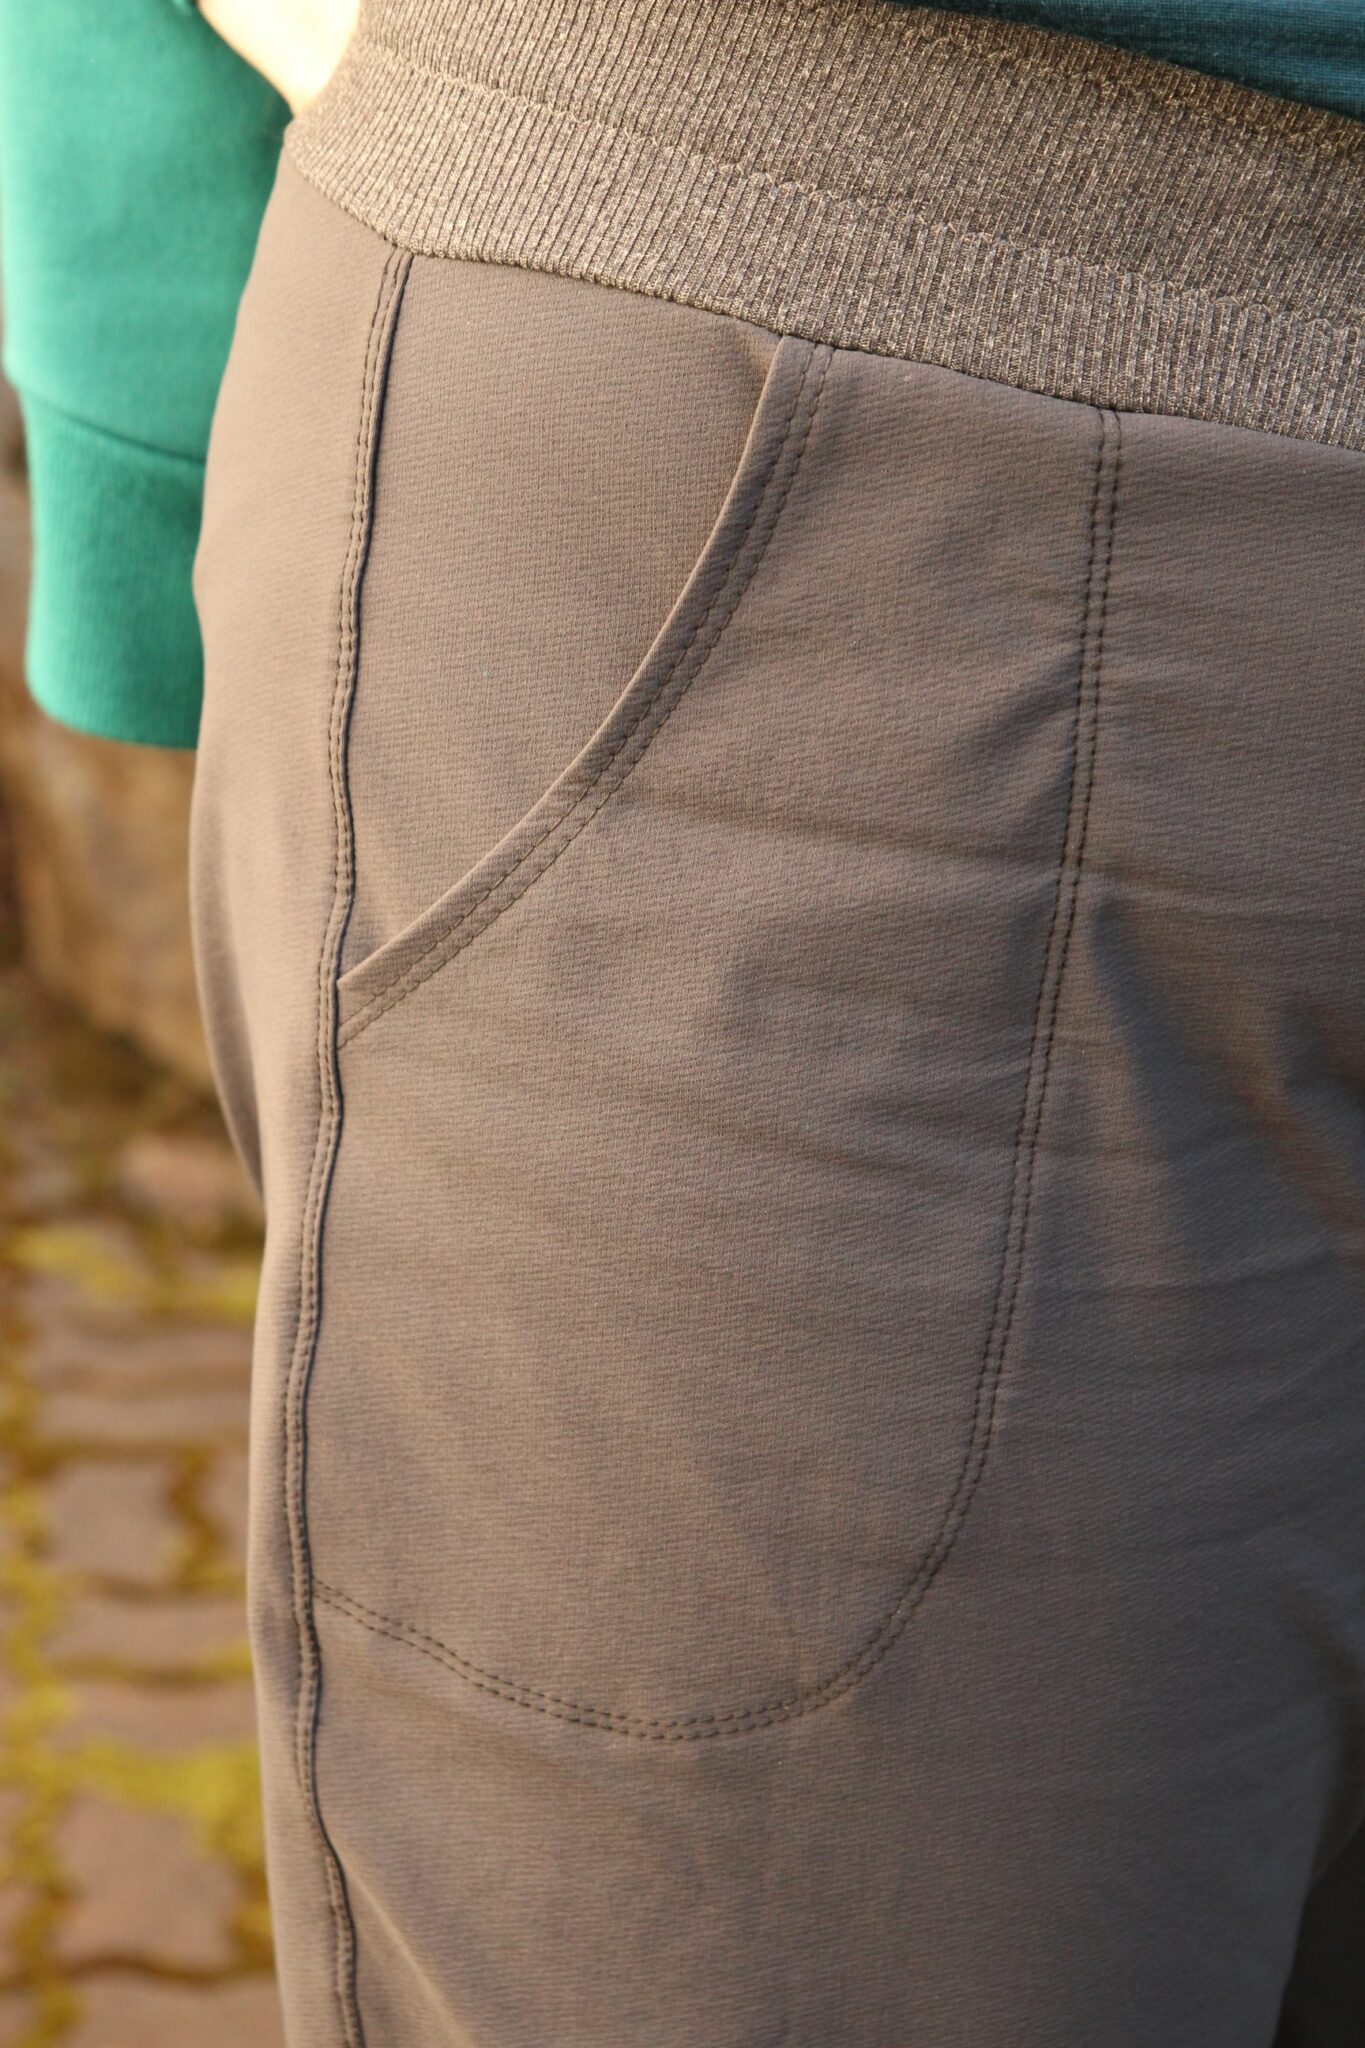
After the brain-hurting exercise of doing the Whistler/Transformer Jacket mash-up, I decided to do something easy and satisfying next: a pair of stretch woven joggers, for the bottom right hand corner of my grid. Oh I am so glad I did these! First of all, it’s a blessedly quick pattern to sew. Second, they are one of the nicest, comfiest pairs of pants in my wardrobe now.
The Brassie jogger pattern is one of the first things I sewed from Greenstyle when I began doing PDF patterns in the early days of the pandemic lockdown. I’ve sewn them as two pairs of sweatpants, as well as a pair in WindPro Stretch (which has a fleece backing – quite warm, slightly water-resistant, and, as the name suggests, windproof) and MITI Dry-Tech (which is a wicking fabric with fleece backing, lighter than the Windpro). All of these are still in regular rotation in my pants drawer.
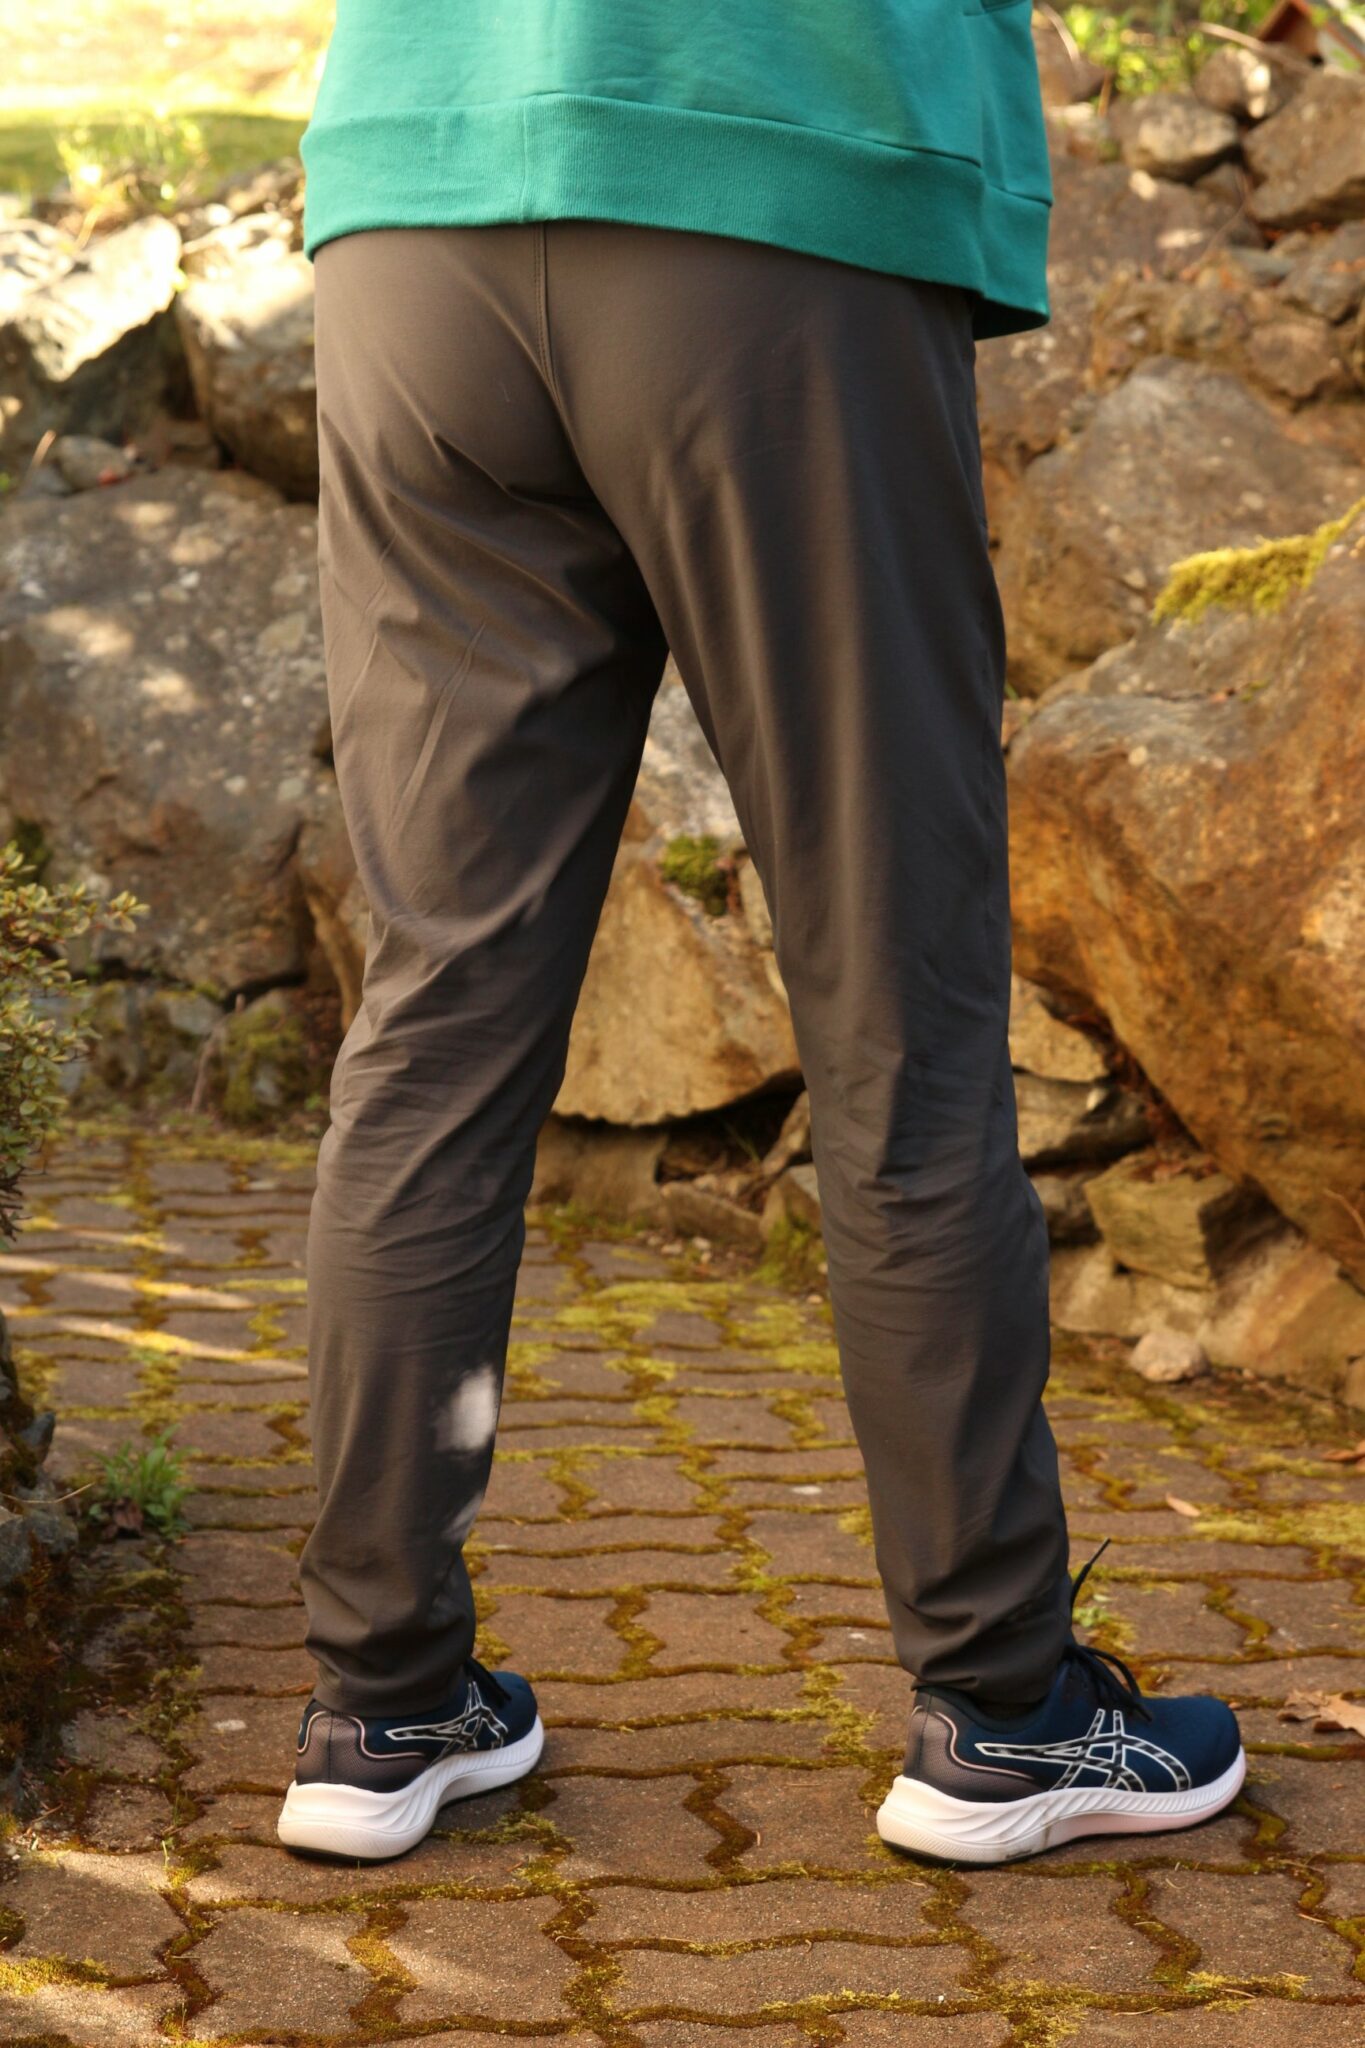
This “Adventure” fabric was another awesome thing to use for the Brassies. I did a double-needle coverstitch topstitching on the pockets and the seams, and used Yoga Stretch Charcoal for the waistband. Originally I was thinking of doing a cuff but I lengthened the leg by 2.5cm and it is quite slim and flattering, so no cuff needed.
There’s more lengthwise stretch than cross-wise in these pants, so I cut them out on the cross-grain so that the greater stretch is around the body. They’re super comfy, water repellent, and look great!
Whistler / Transformer Jacket
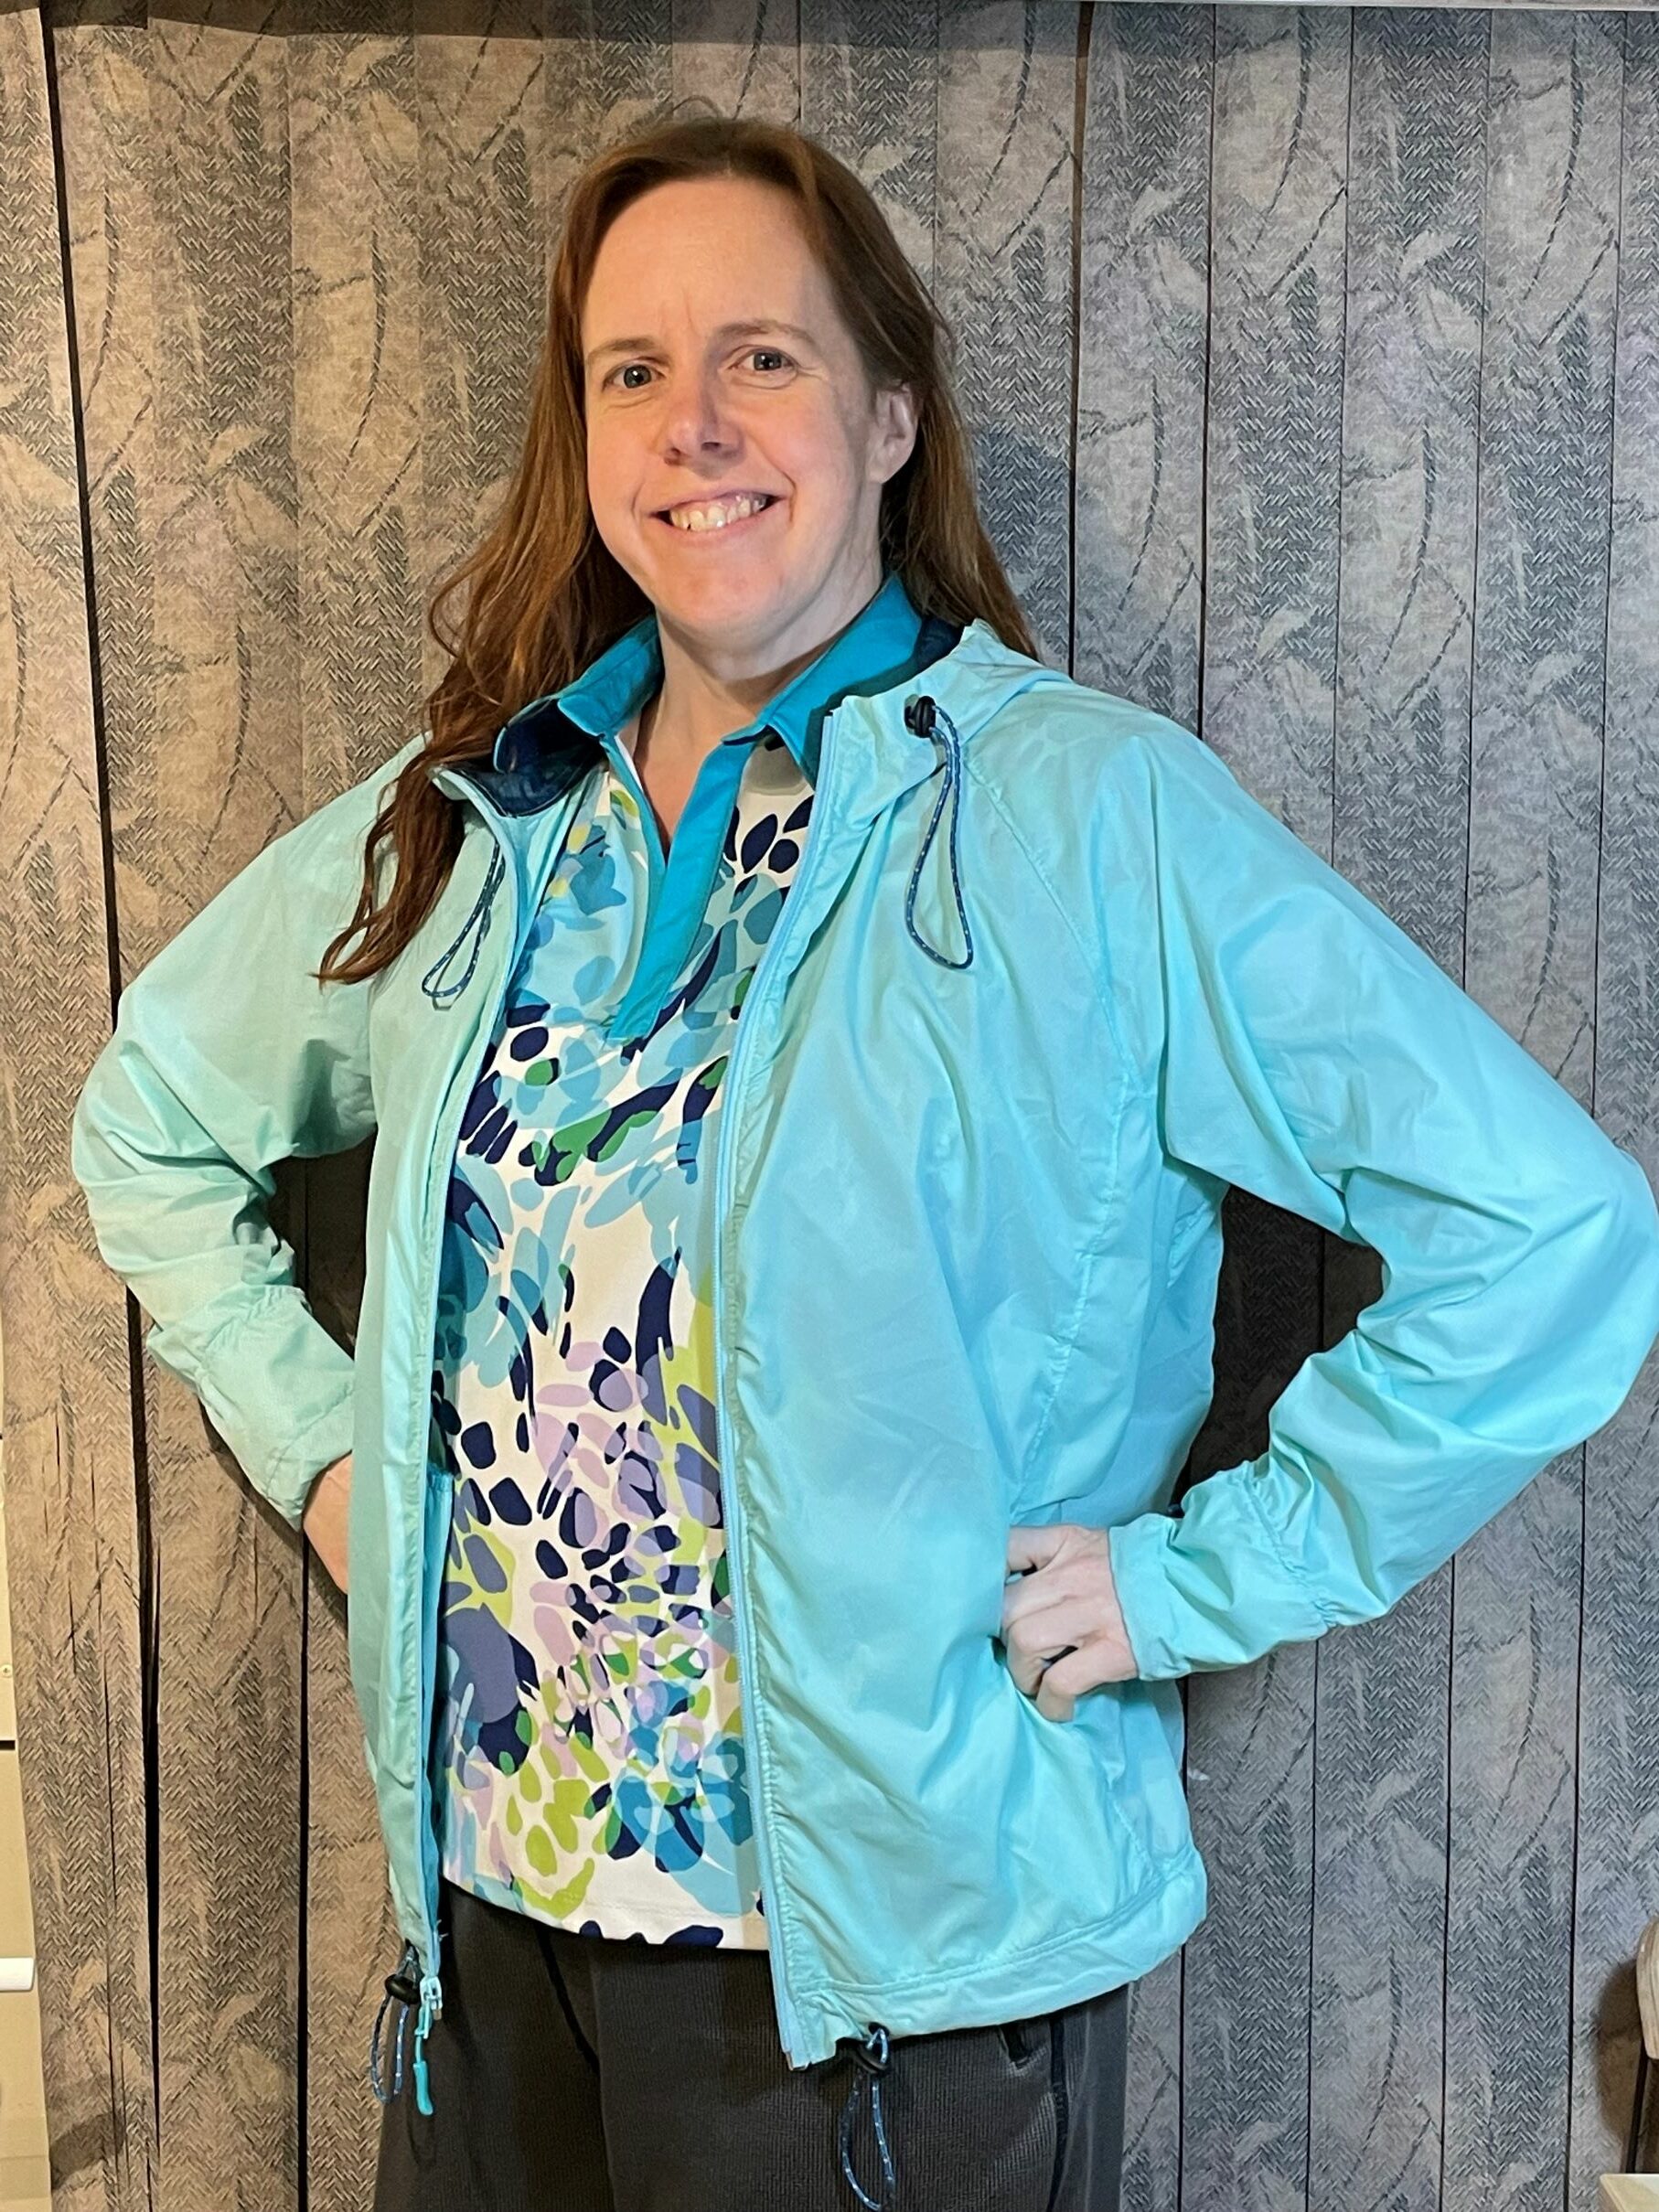
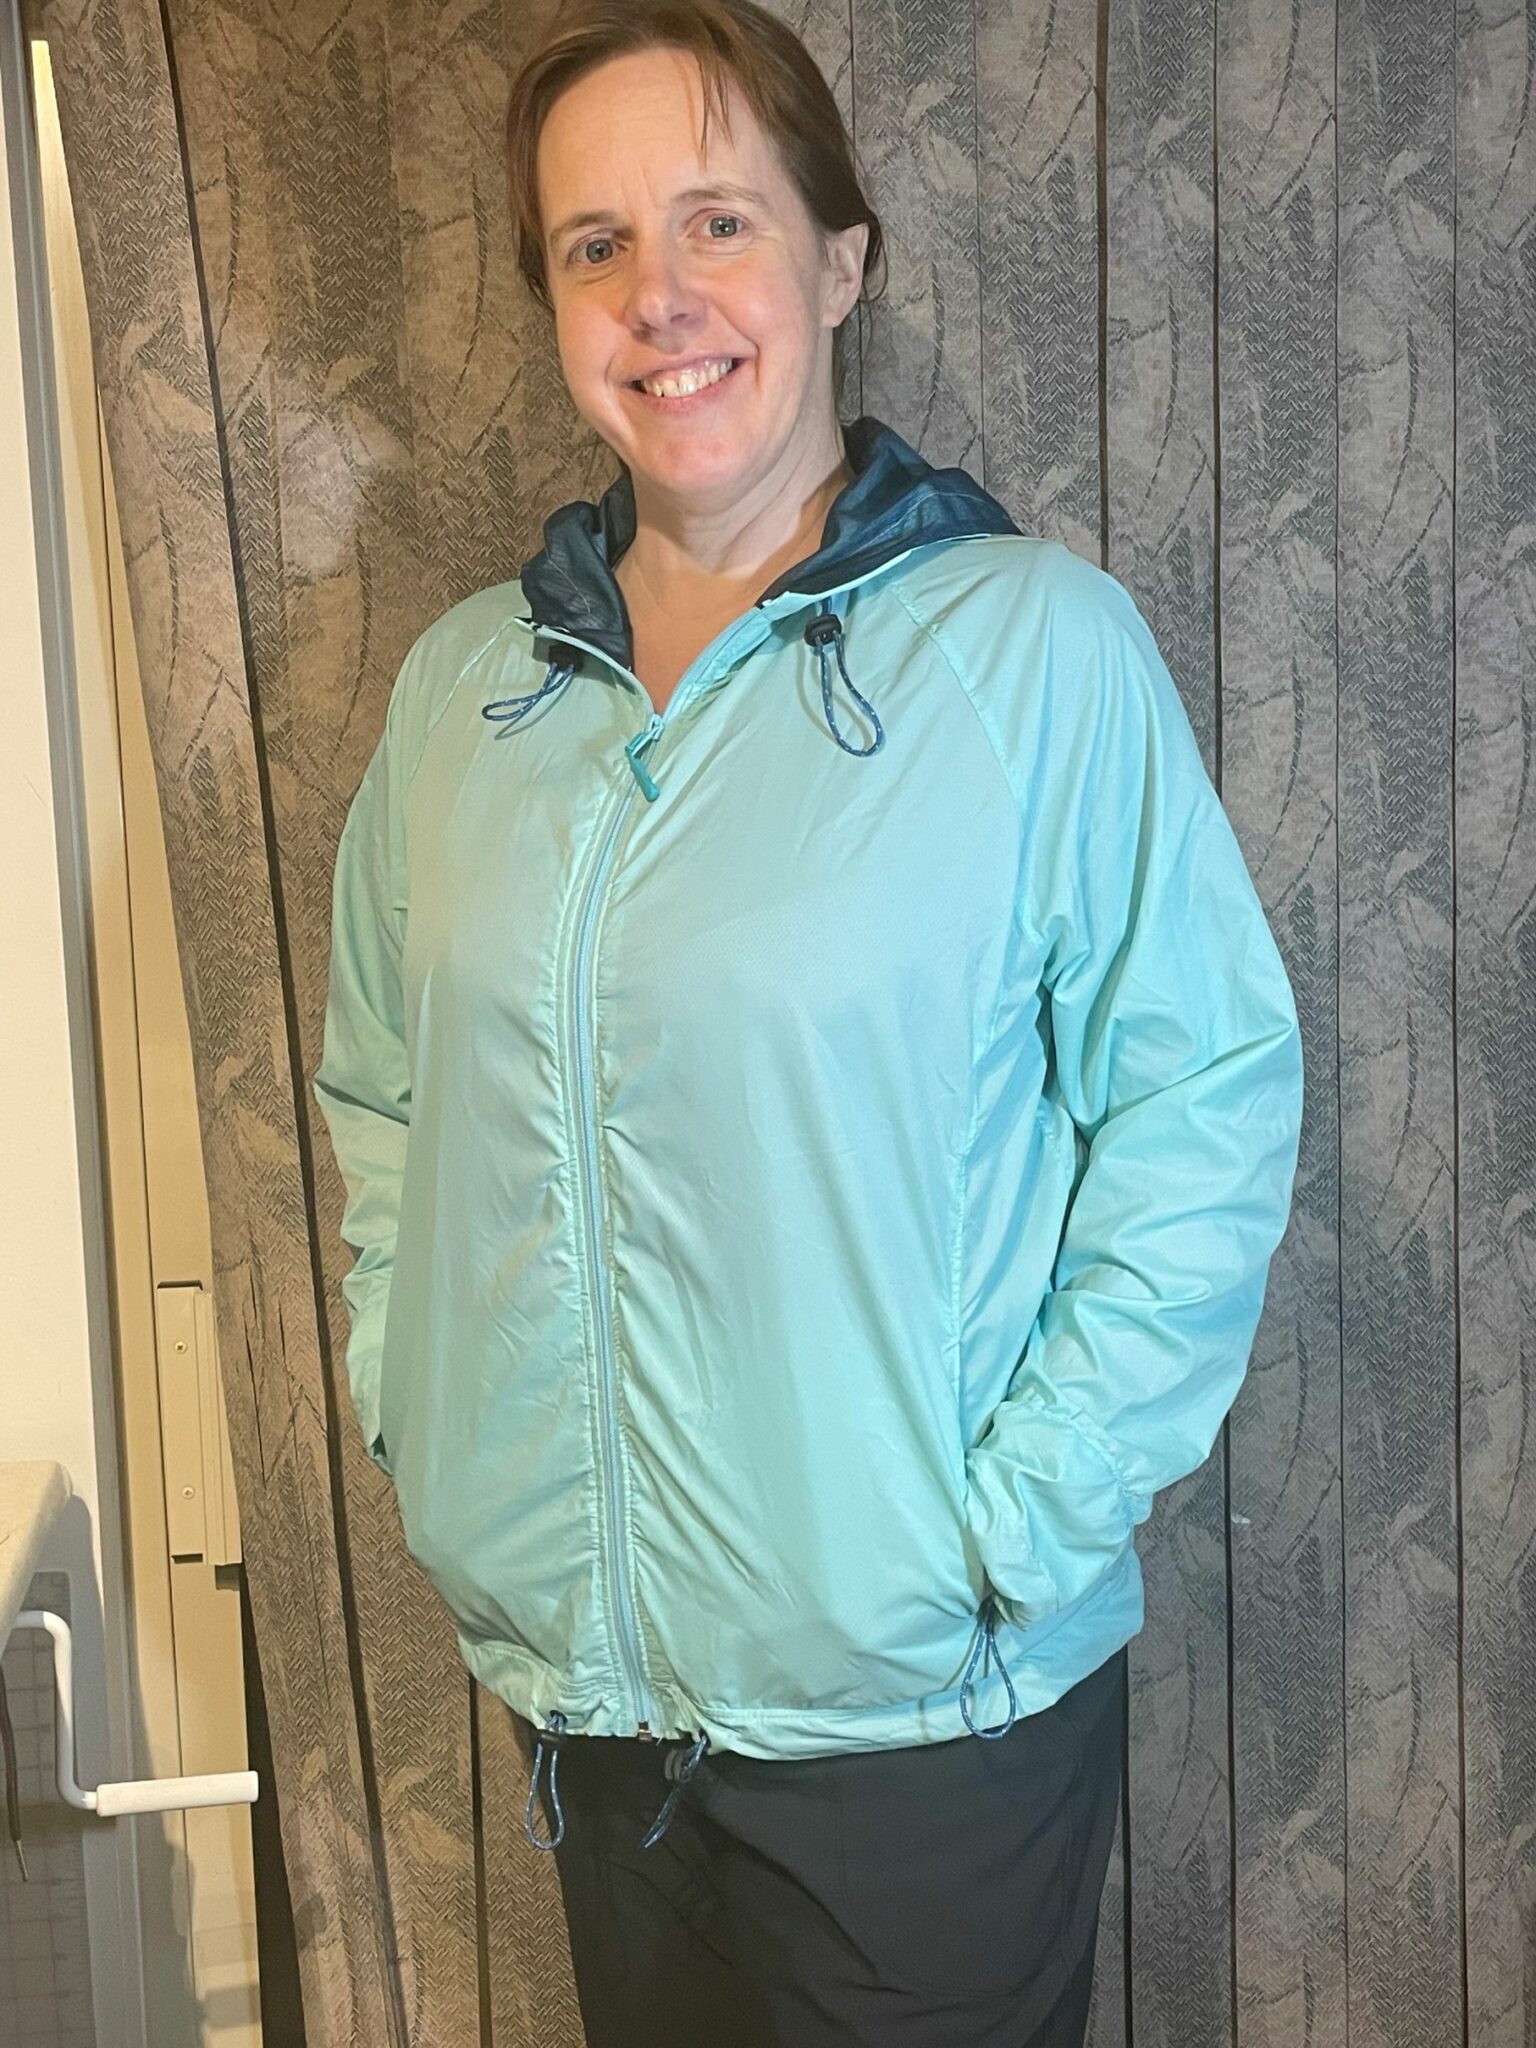
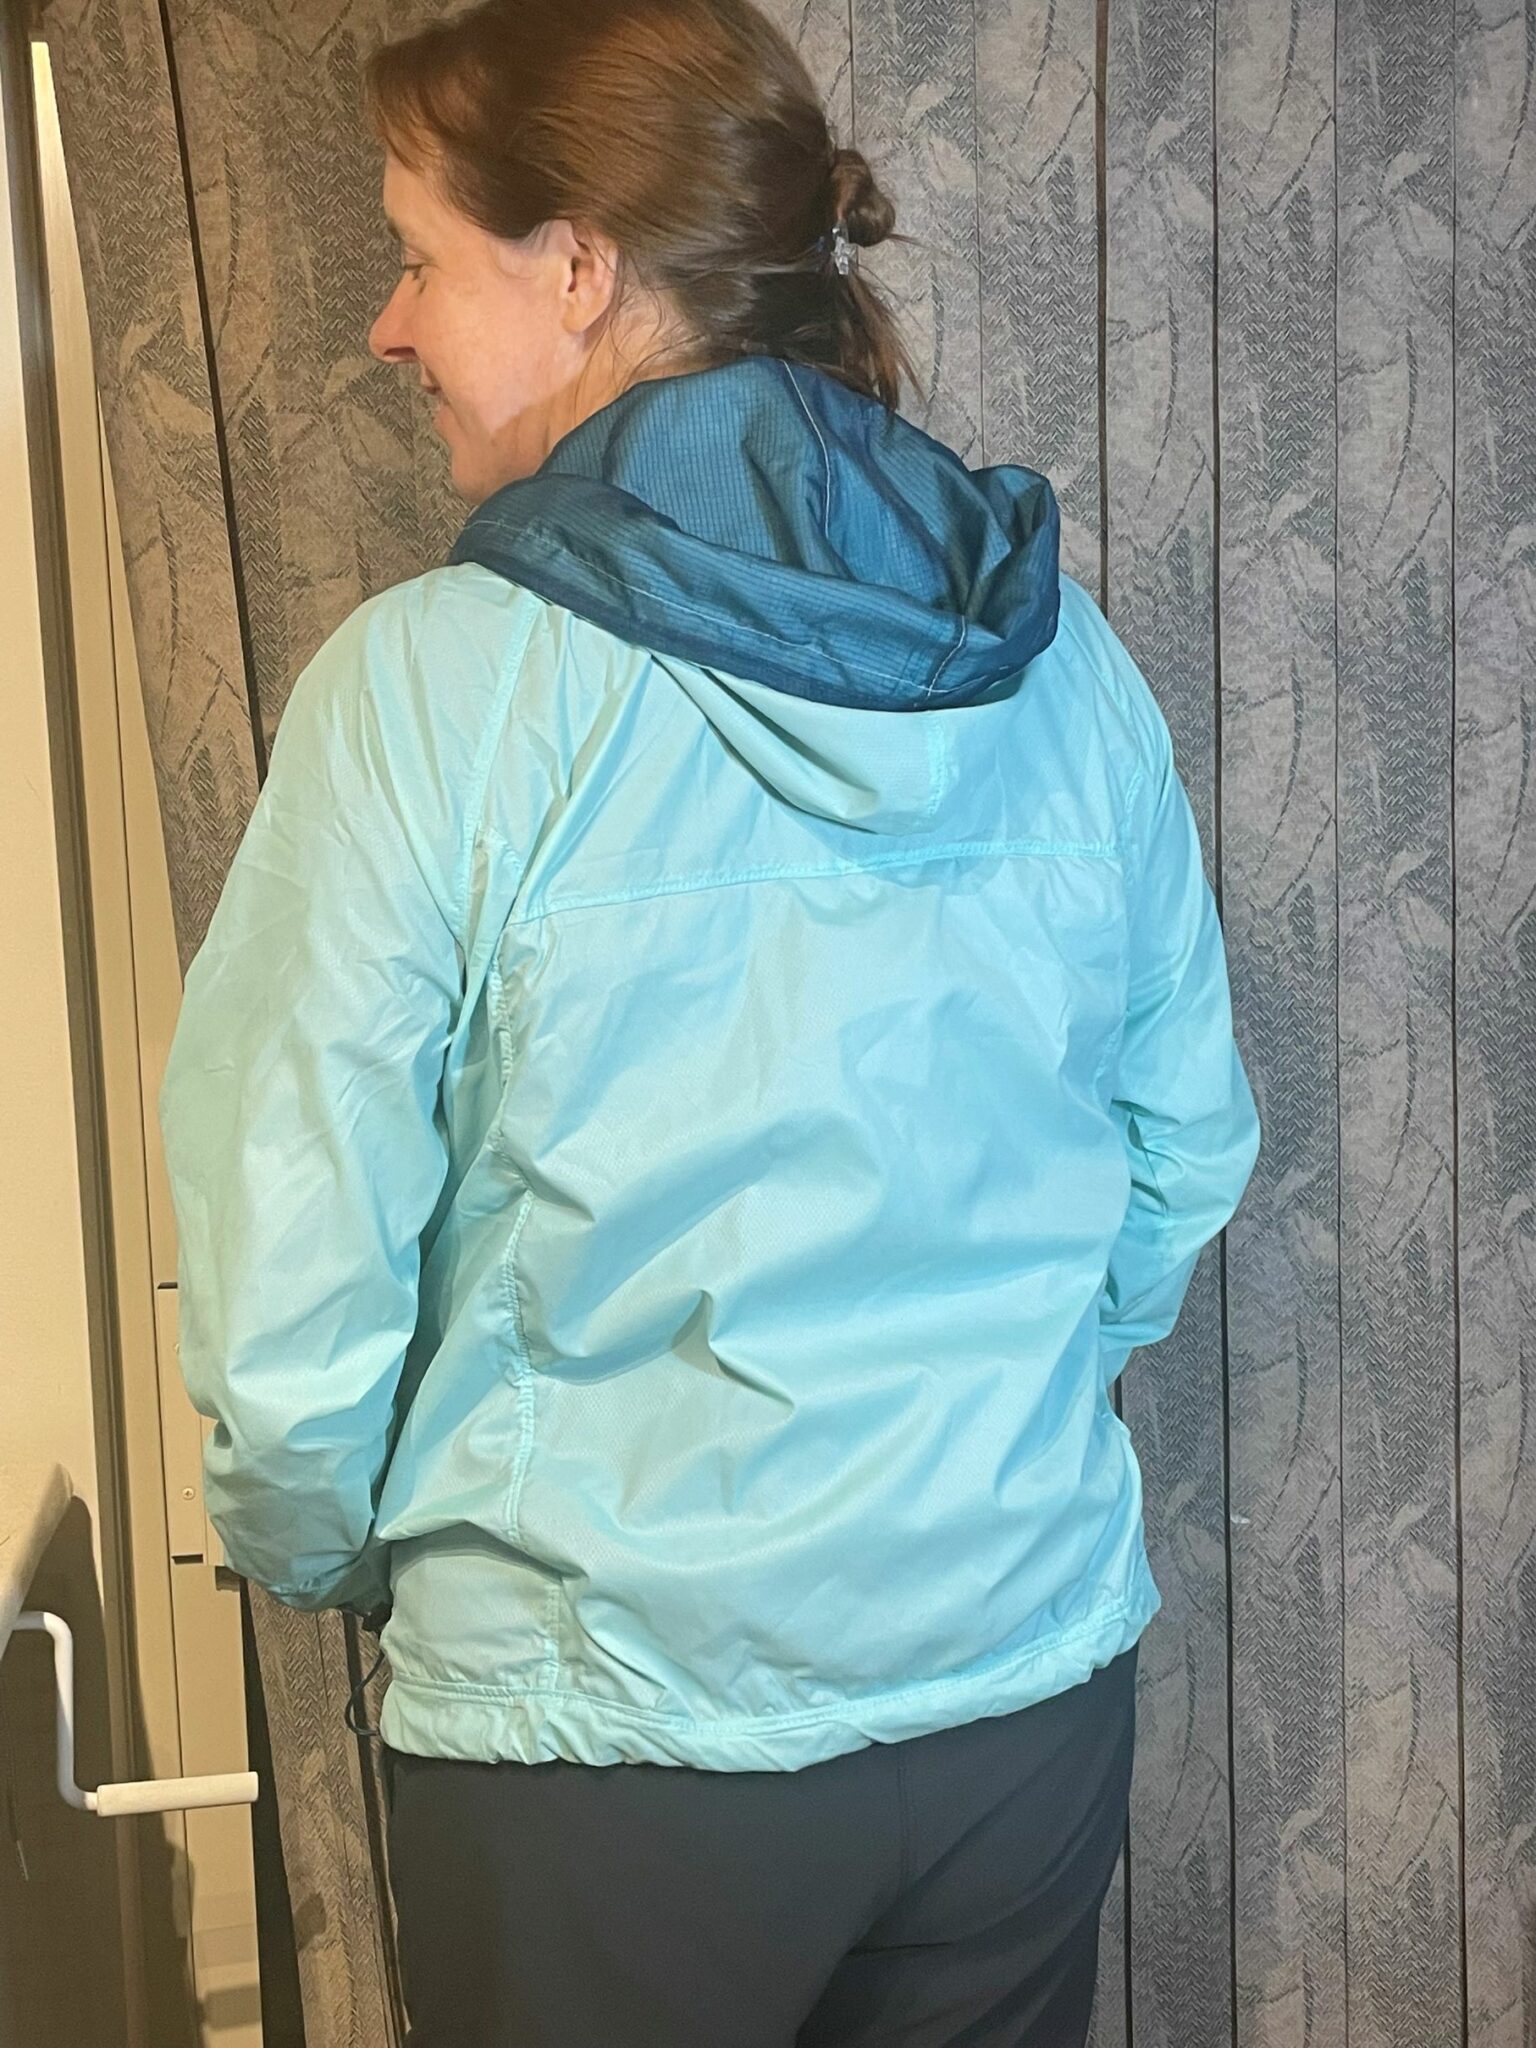
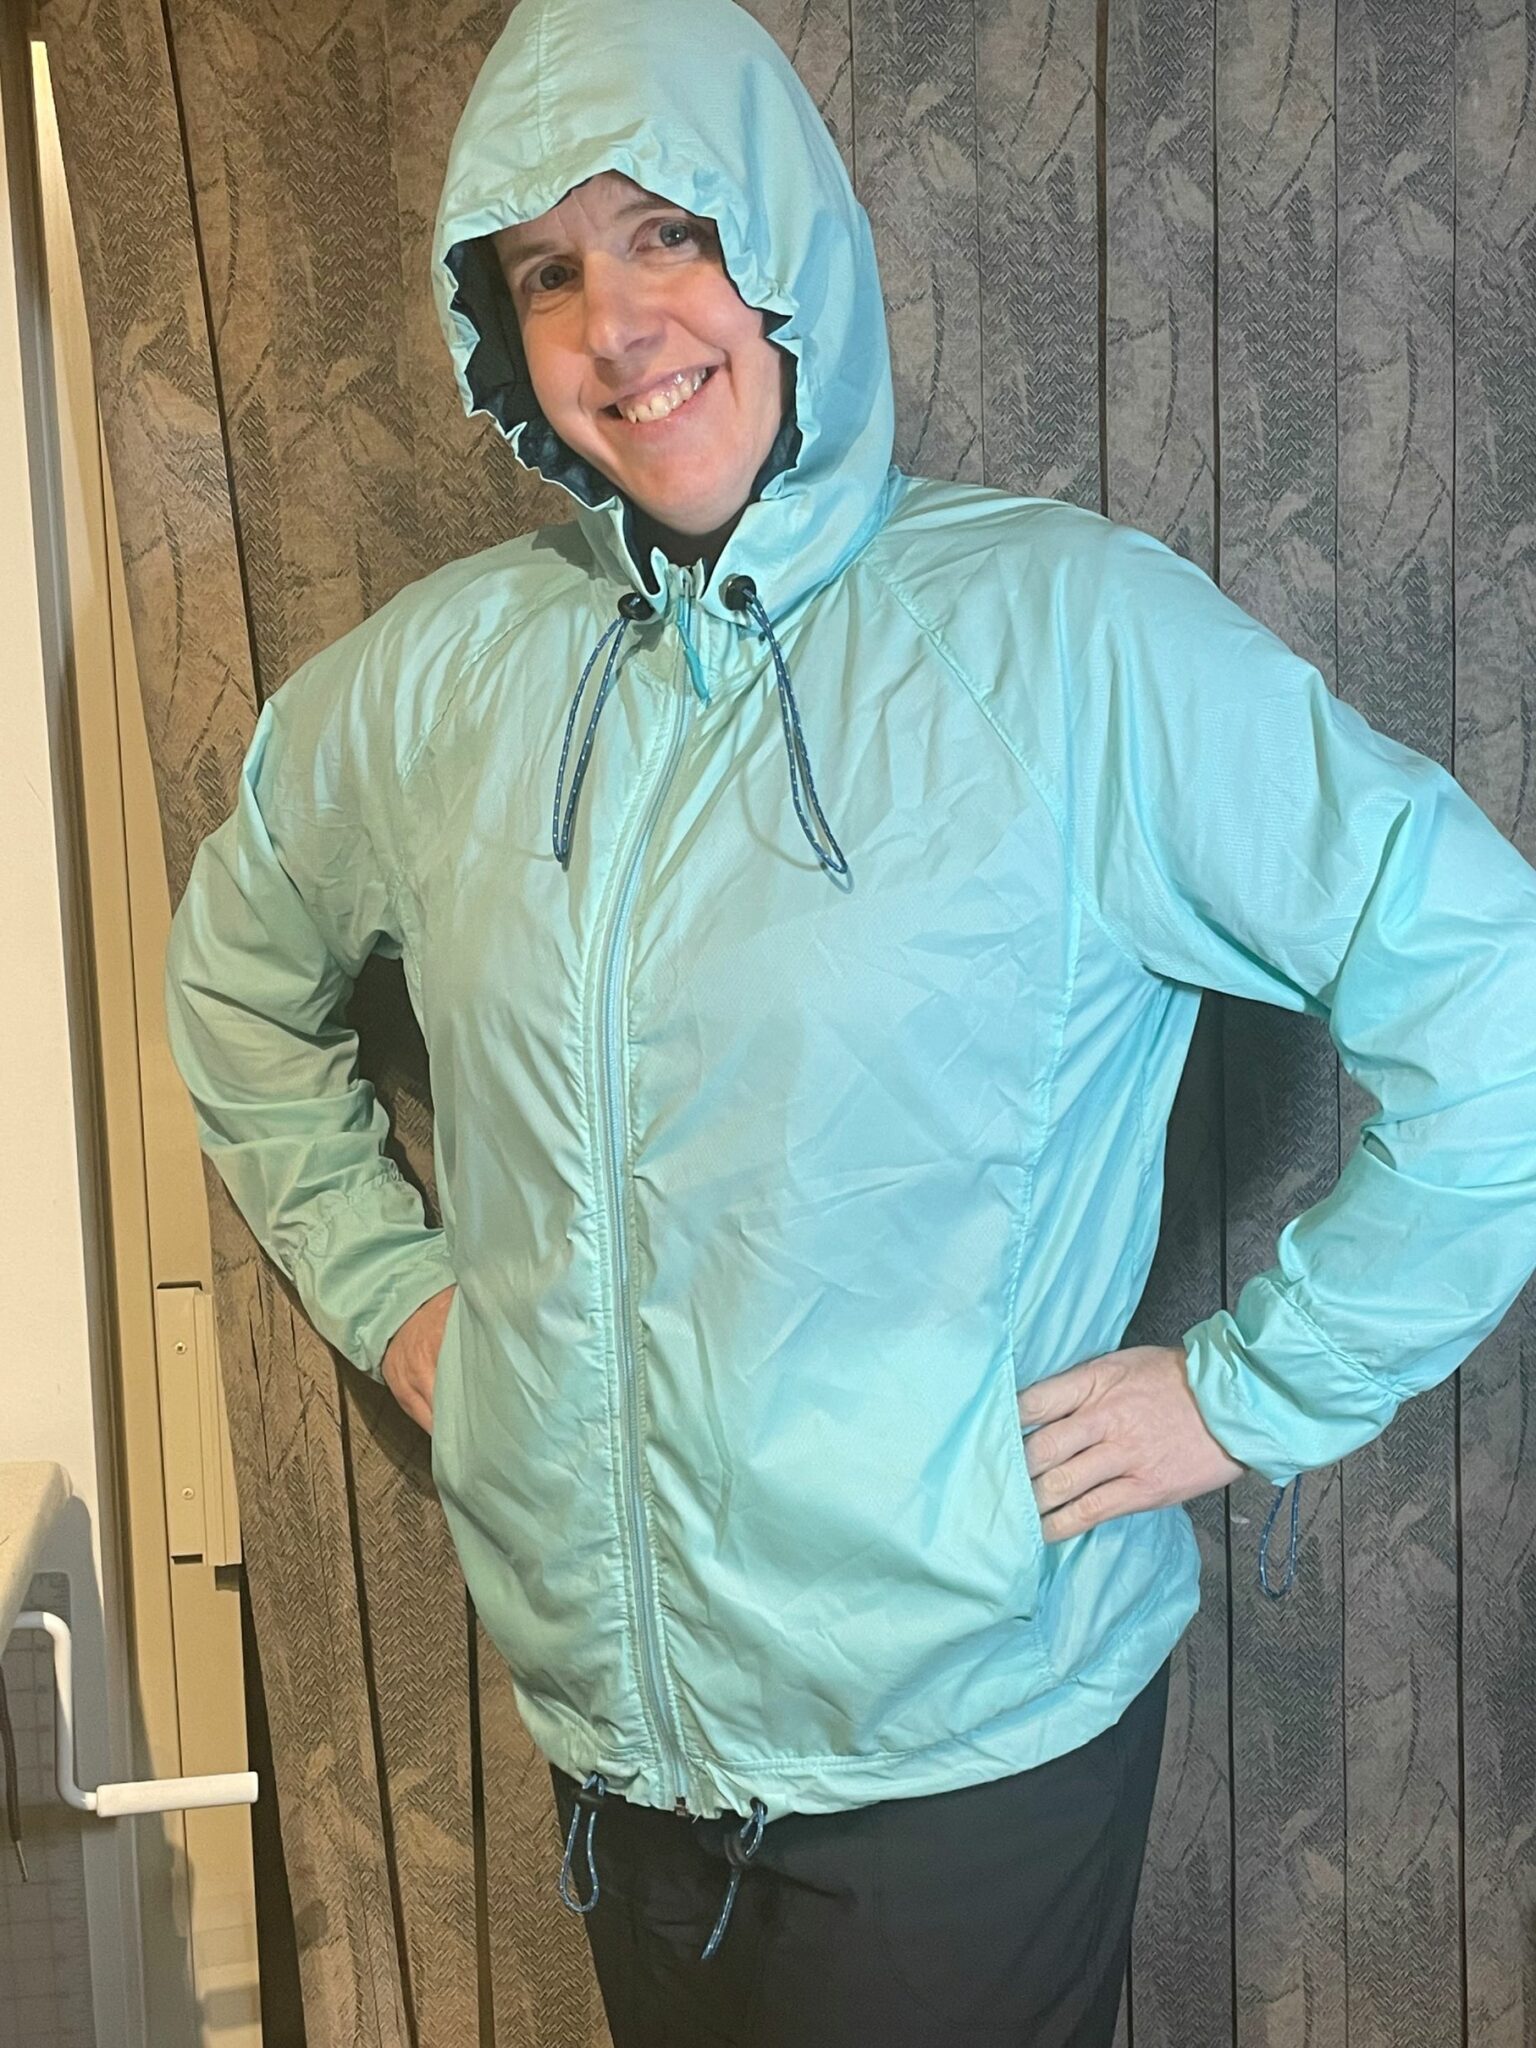
With a successful muslin complete, I embarked next on using my precious HyperD ripstop nylon for the Whistler/Transformer mashup jacket. I also had some MonoLite Mesh for the backpack pieces and hood lining.
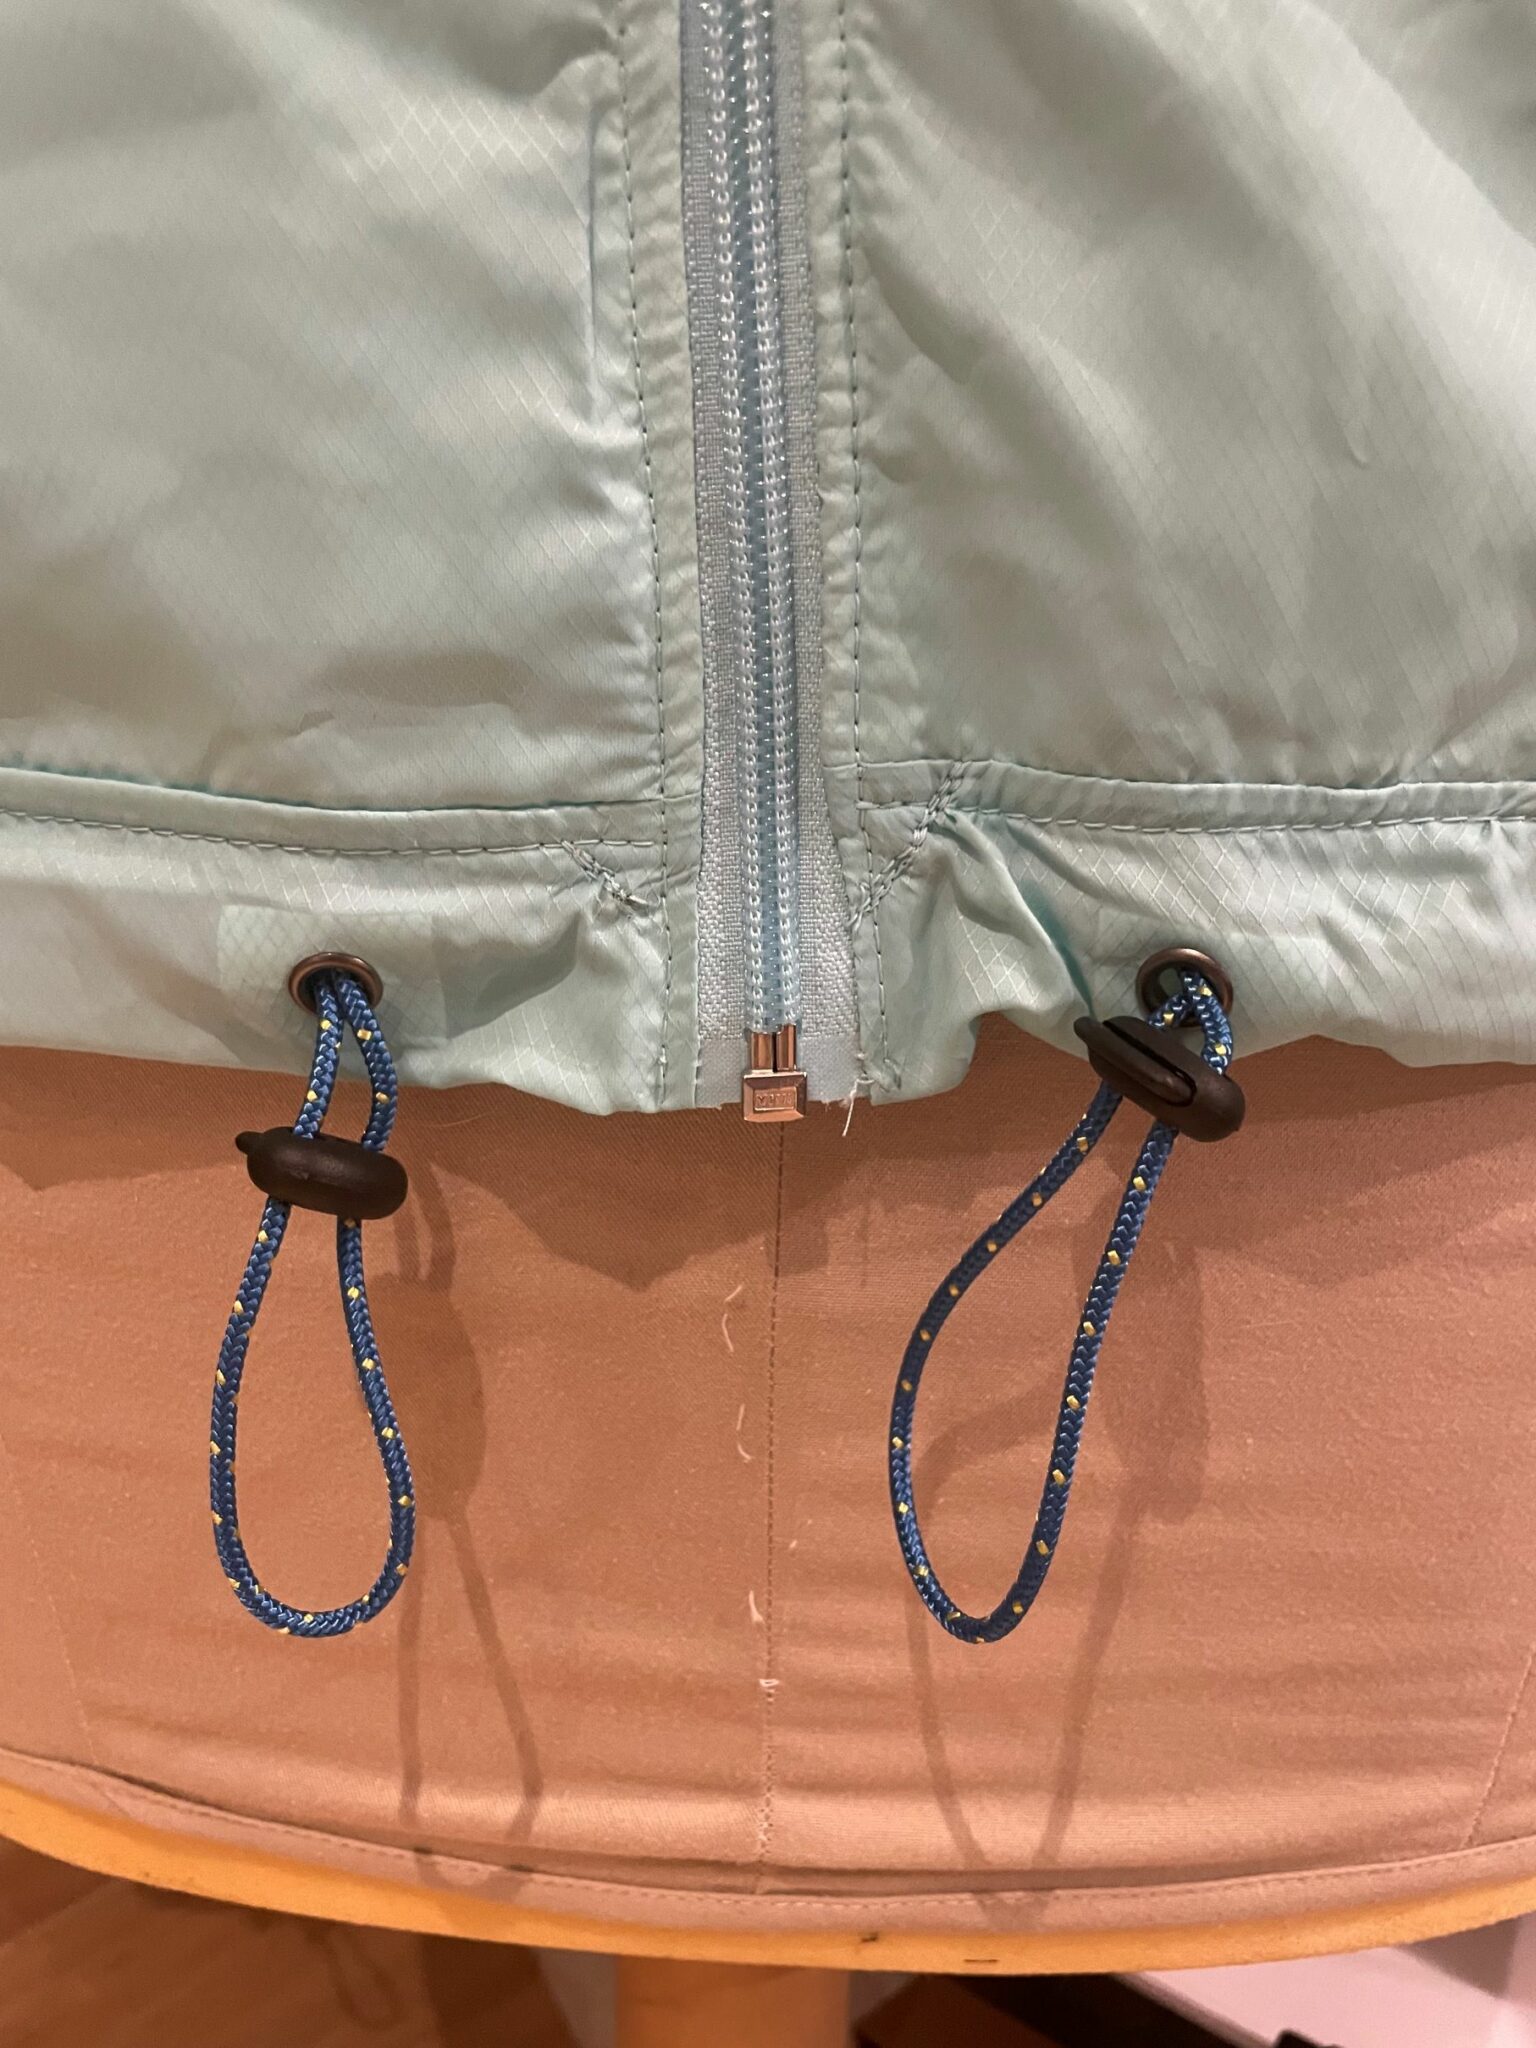
This fabric was a royal PITA to sew with… it’s so light, and slippery, and you can’t really press it very much except on the lowest setting (which isn’t enough to fuse interfacing). I used a Teflon protective paper sheet to fuse stretch heat-transfer vinyl onto the grommet placement locations. (The Teflon comes with Cricut infusible ink products, which I still haven’t successfully used but I use the Teflon quite a bit for ironing sensitive things!) Top-stitching on the nylon without wrinkles was nigh-on impossible and I just pretty much gave up and went for the slightly wrinkled look as a fashion statement.
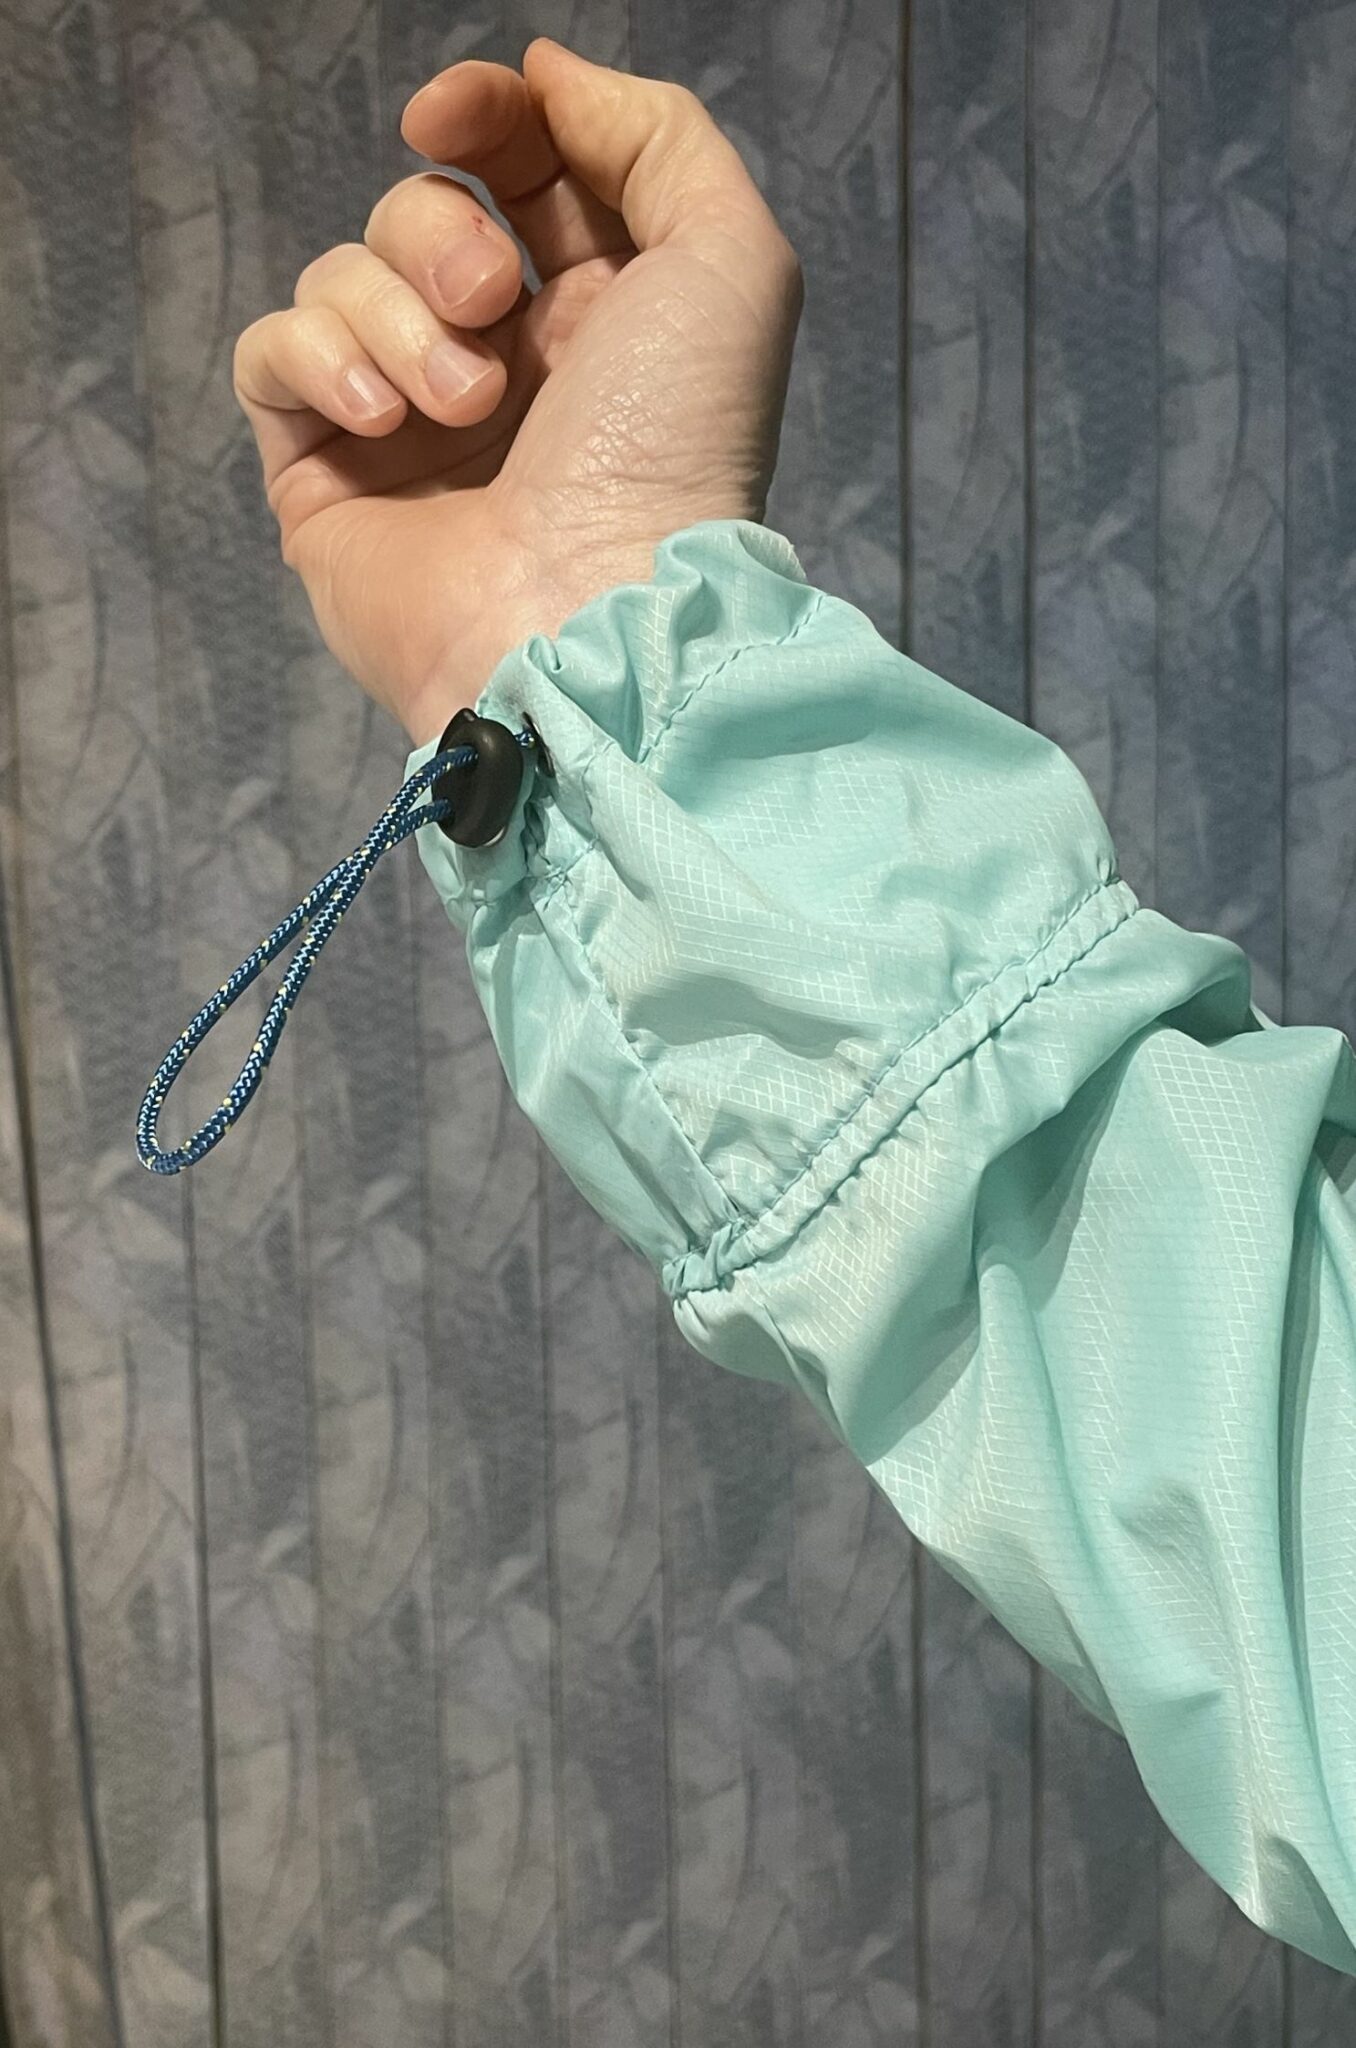
To finish the sleeves, I originally tried putting on the stretchy cuffs but it looked really really bad. The pattern cutoff line for the cuffs was pretty short (even on T-Rex here) and the cuffs are long, so they just looked like weird 18th century men’s puff sleeves (I don’t know if that’s really a thing, but it seems like it is). I carefully removed the serged seam and took those cuffs off, and drafted up my own cuff pattern to cut out of the remainder of the HyperD nylon. The pattern piece looks sort of like an hourglass, because I wanted the cuff to taper towards the wrist, but be the same size as the sleeve at the seam to avoid any gathering. I put grommets on one side of the fold line at each side of the seam. I sewed one side to the sleeve (right sides together, then folded the cuff over, serged the edge and turned it under 1/4″, which I held in place with some basting tape. I topstitched that into place and by some grace of Goddess, the topstitching turned out really well. I topstitched 1″ from the fold to create a casing, and inserted a drawstring just like on the hood and hem.
The other change from the Whistler pattern is that I didn’t use the facing piece. Instead, I used a 3/4″ grosgrain ribbon as the facing, because I didn’t want the shadow of the facing to show on the front (as this fabric is very light and almost translucent).
I wasn’t really happy with myself for only using 3/8″ grommets in the backpack pieces, because it meant I couldn’t use nylon webbing as the backpack straps. I’ve used cotton twill tape instead but I anticipate that may need replacing at some point in the future.
The whole thing weights only 217g which is freakin’ incredible, if you ask me!
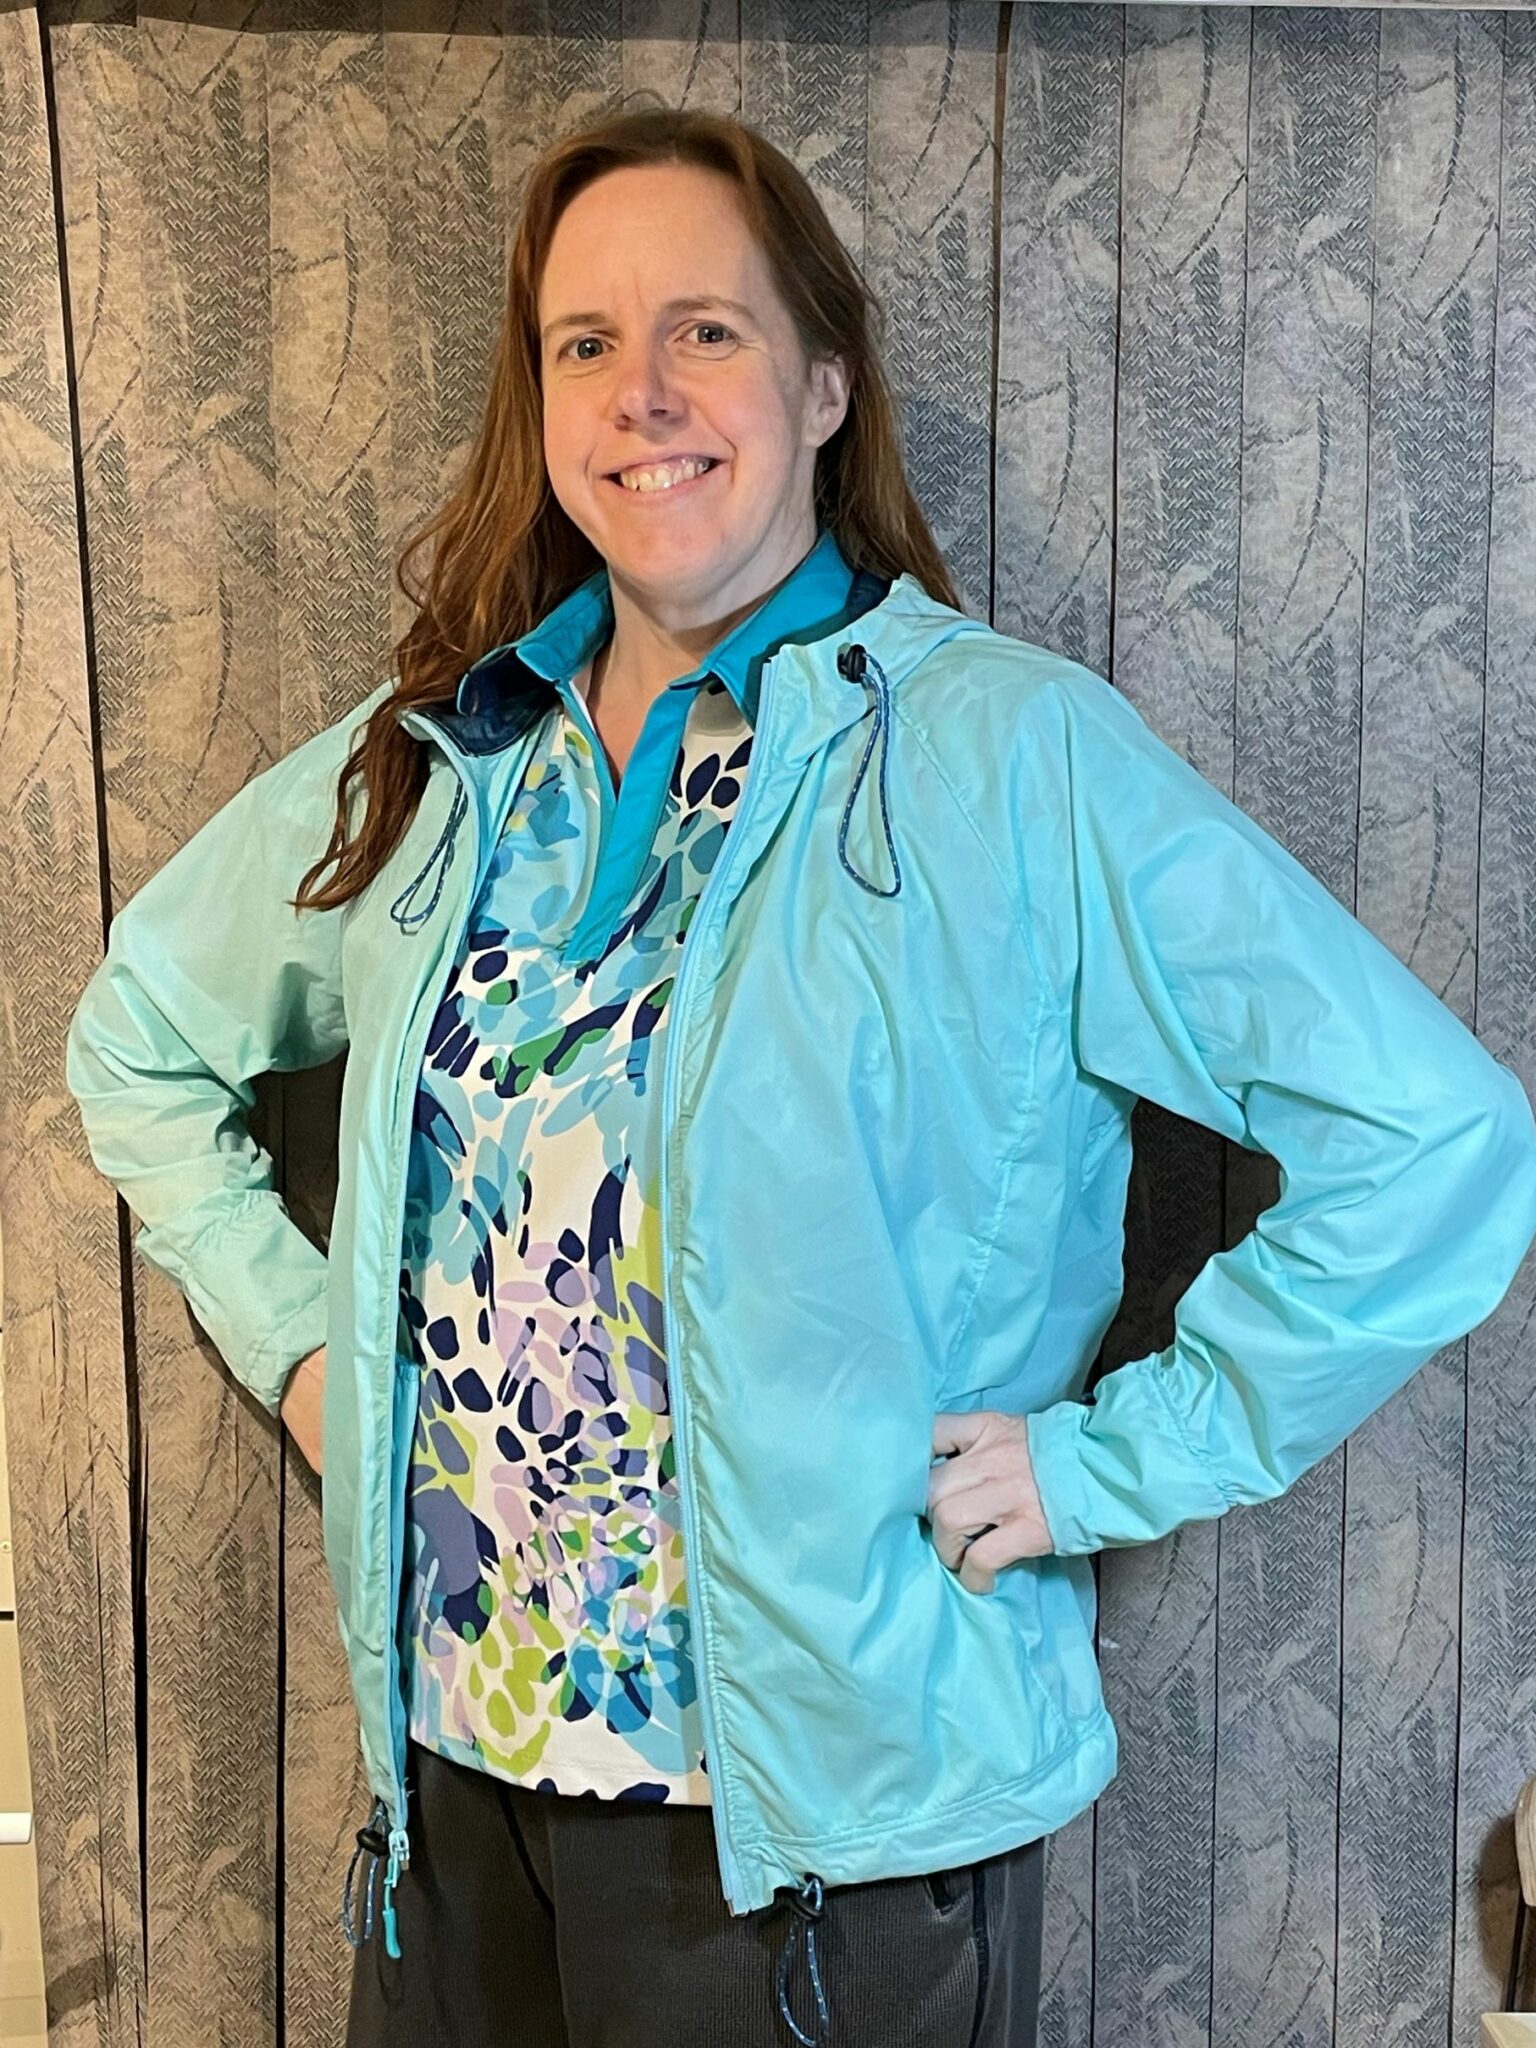
Jalie Polo Top
My FINAL item for this whole project … omg I was so excited! I settled on the Jalie Polo top for this square because I wanted a T-shirt that had sleeves, so when I go to Asia in the fall I can wear it into temples and stuff. I also wanted something that could look a little fancy.
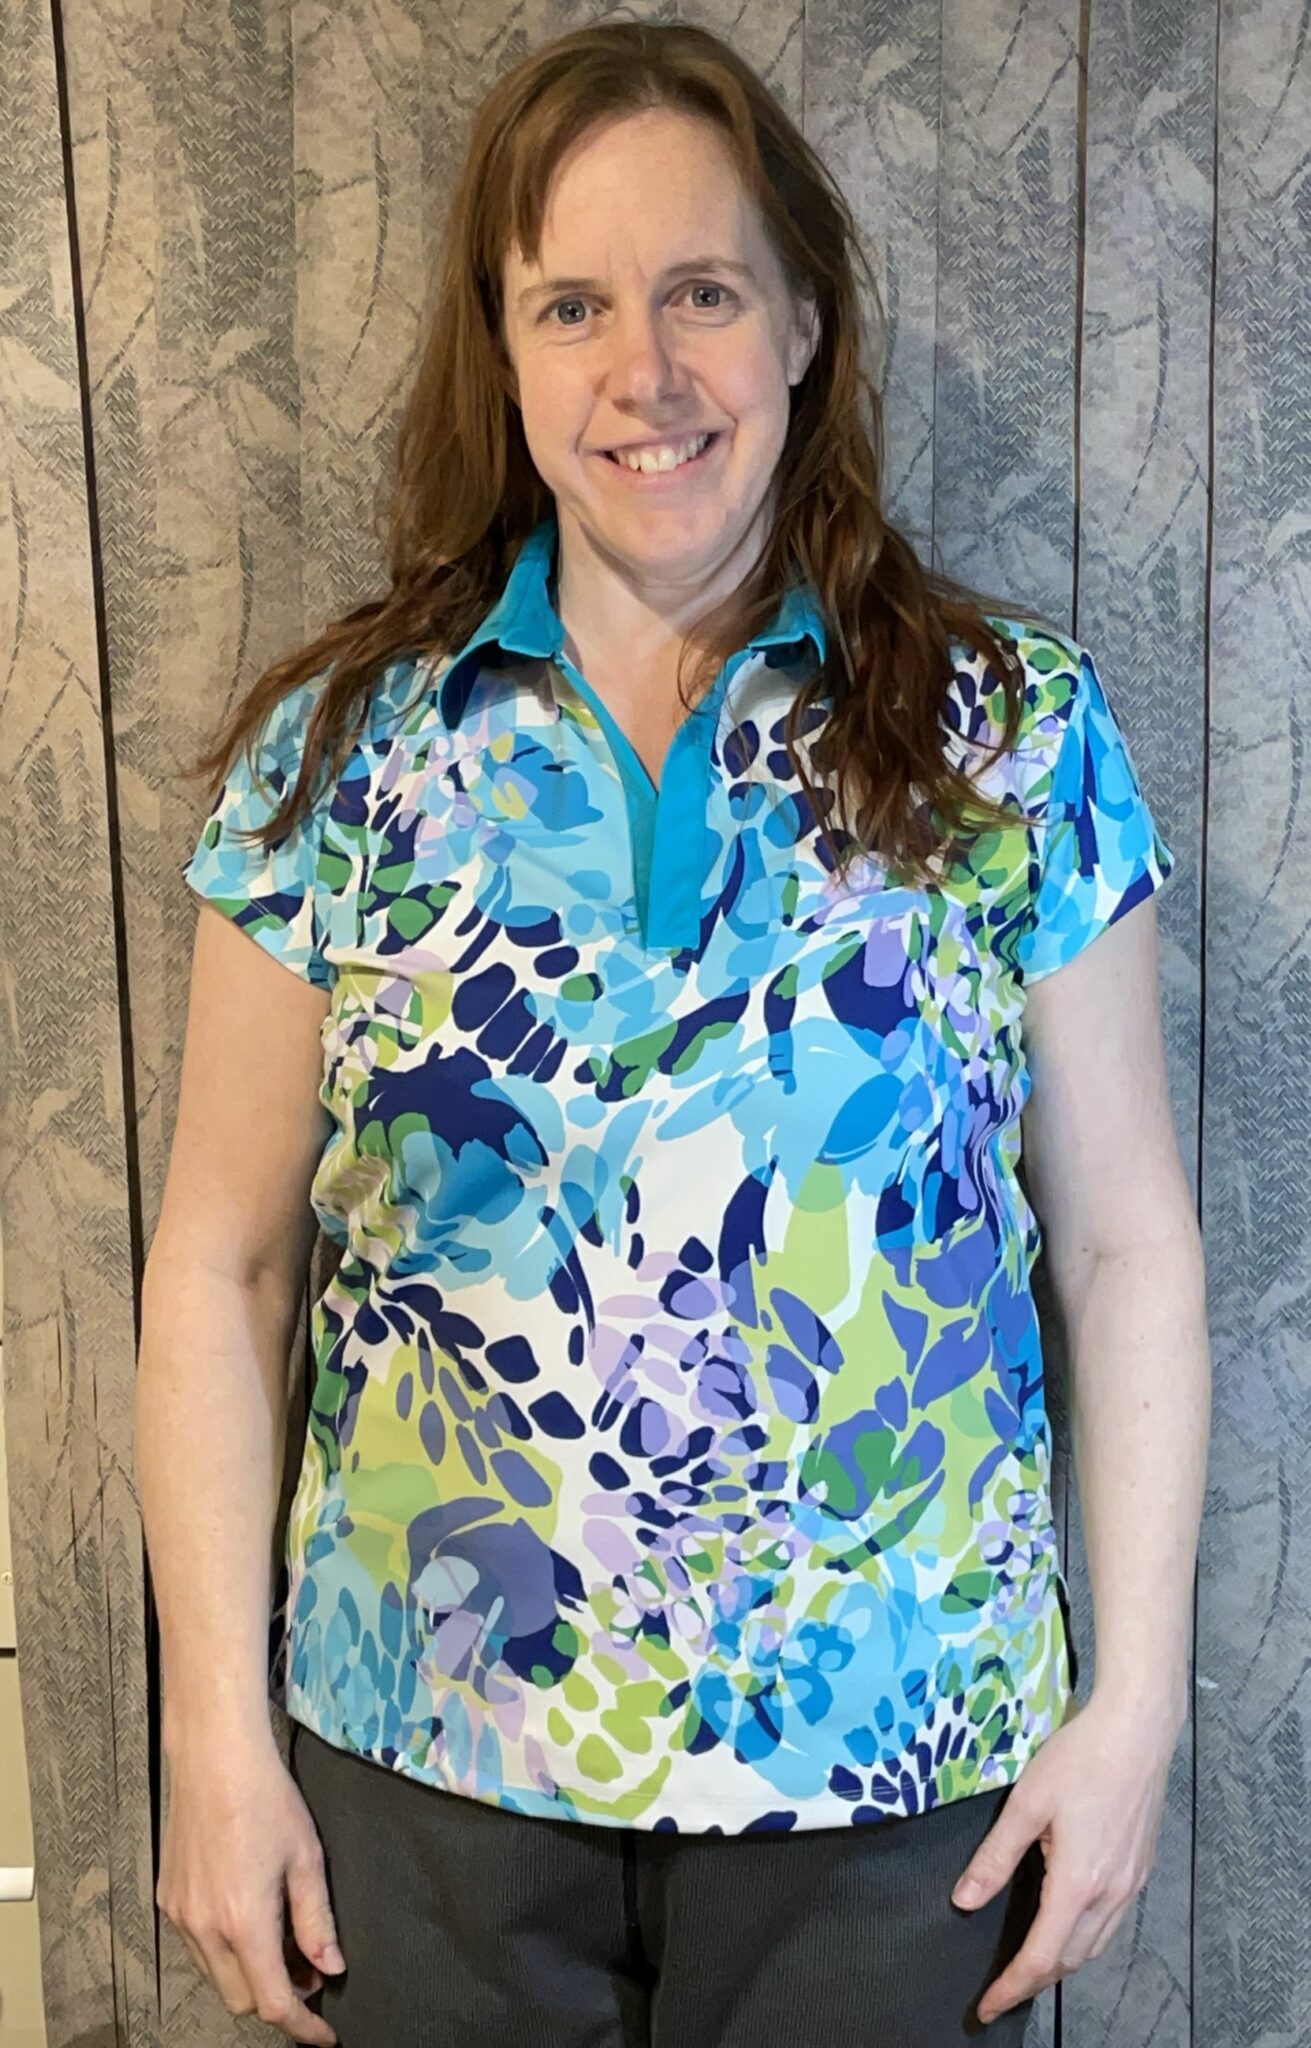
I did a muslin, despite being almost CERTAIN that this pattern would work out from a sizing perspective, and was a good match for the fabric (Breathe Tek). I chose some of the Solar Stretch Poppies that’s in my stash from last year, because I knew it would make a pretty shirt that I’d almost definitely wear if it turned out well, but also I wouldn’t be super crushed if it didn’t work out because those colours aren’t among my primary wardrobe colours.
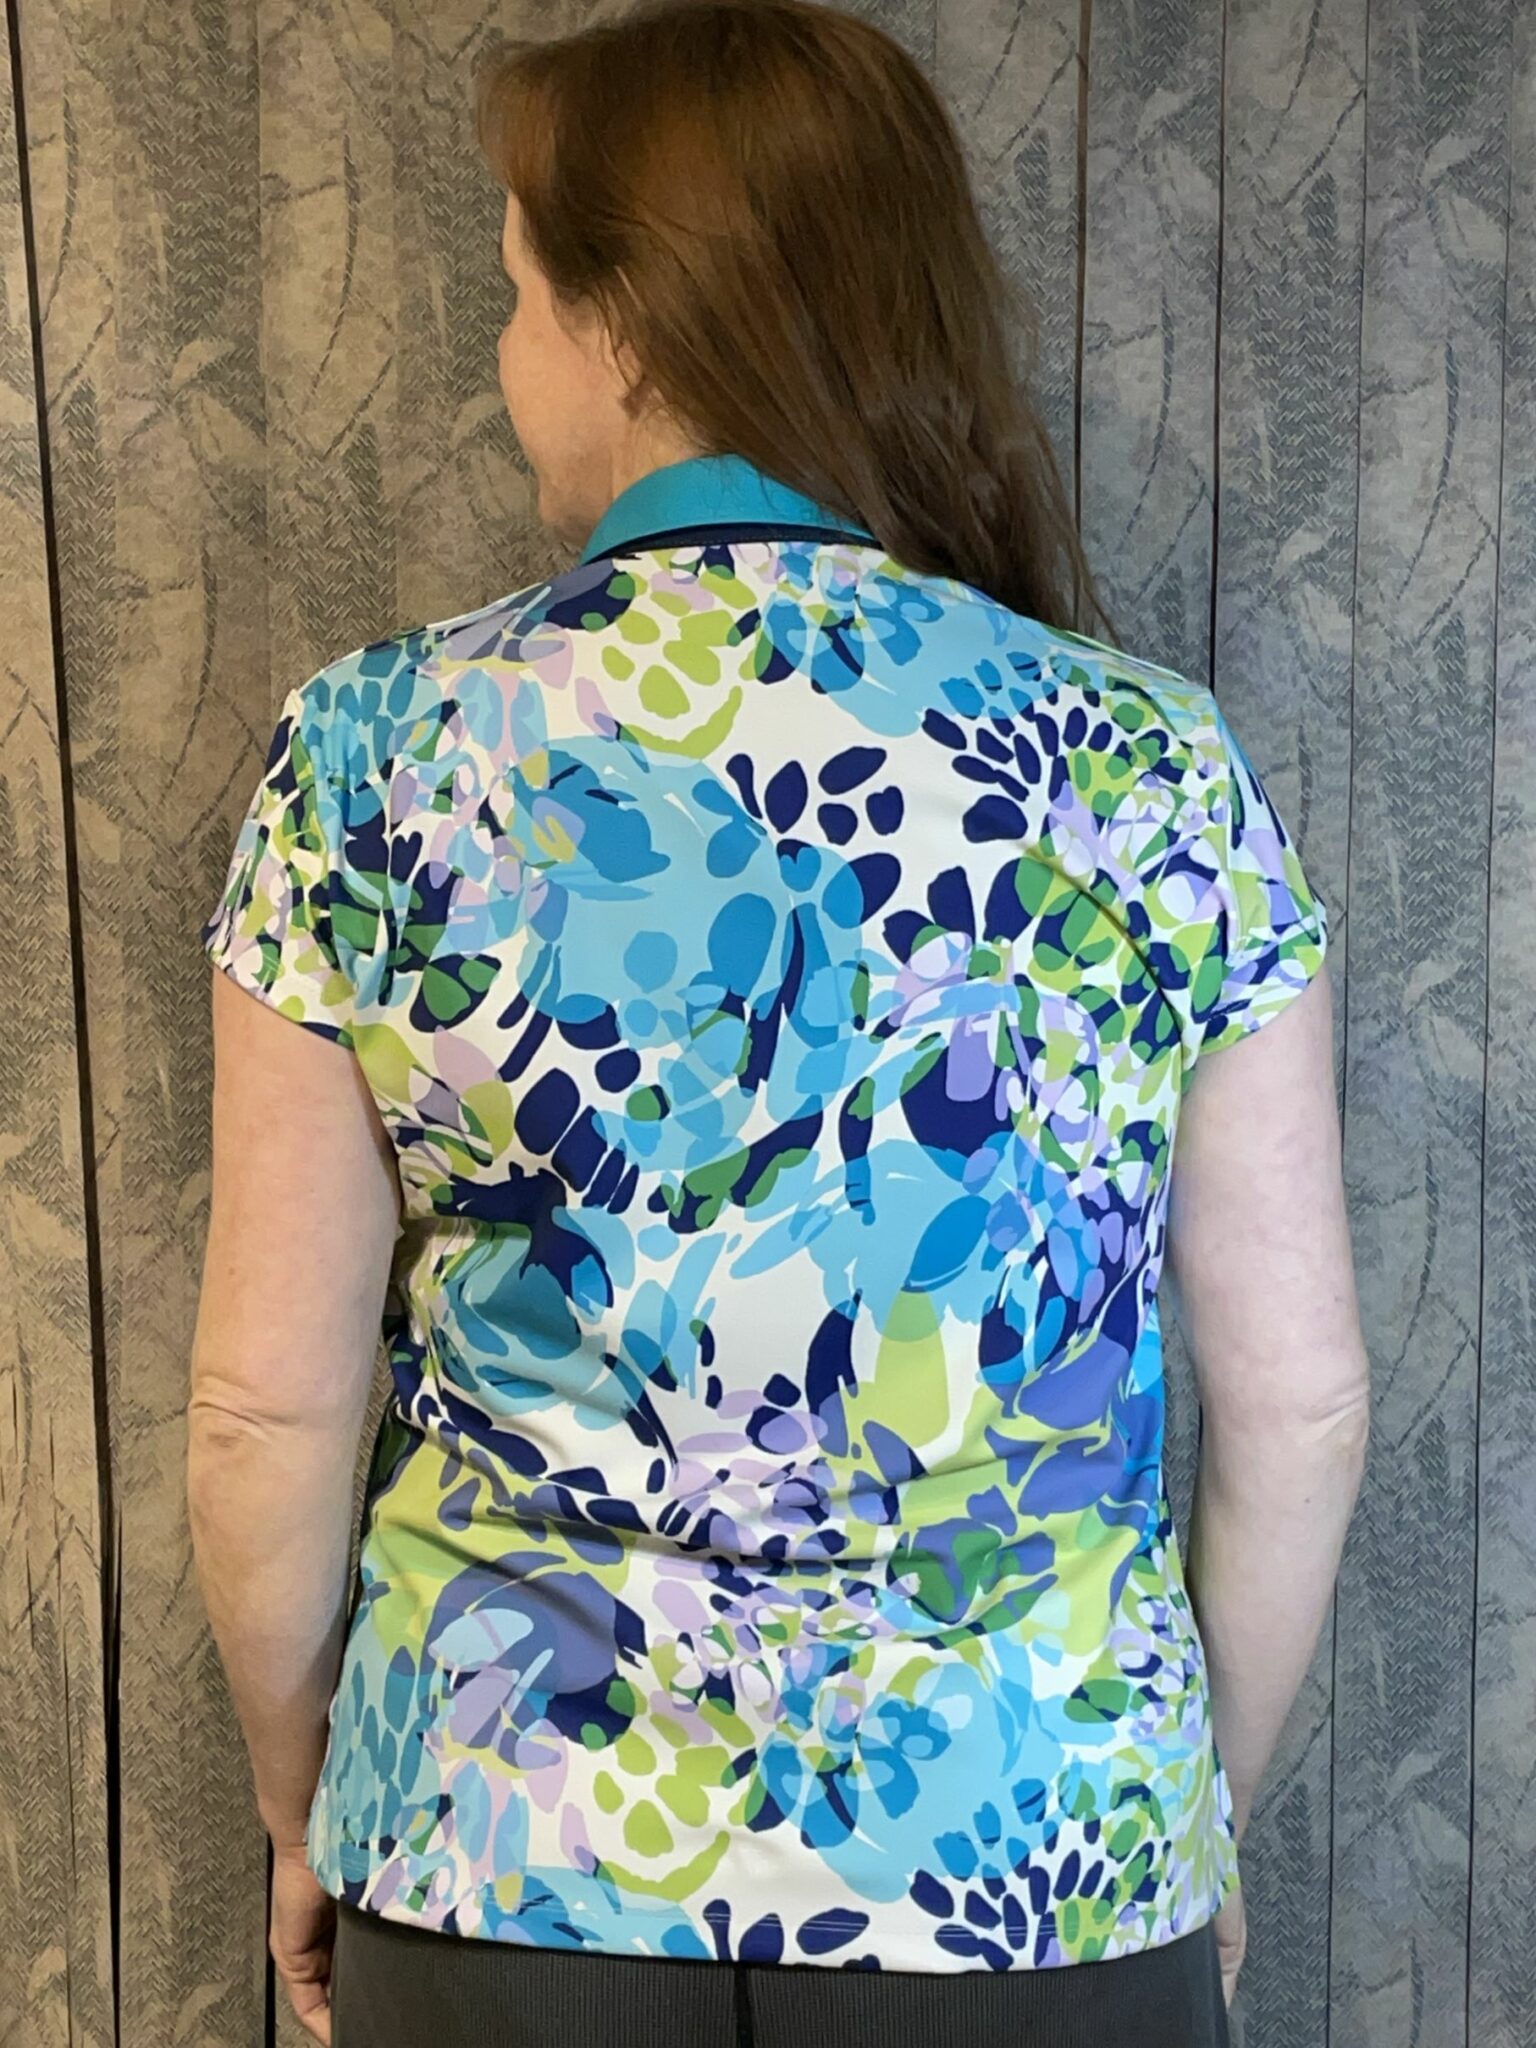
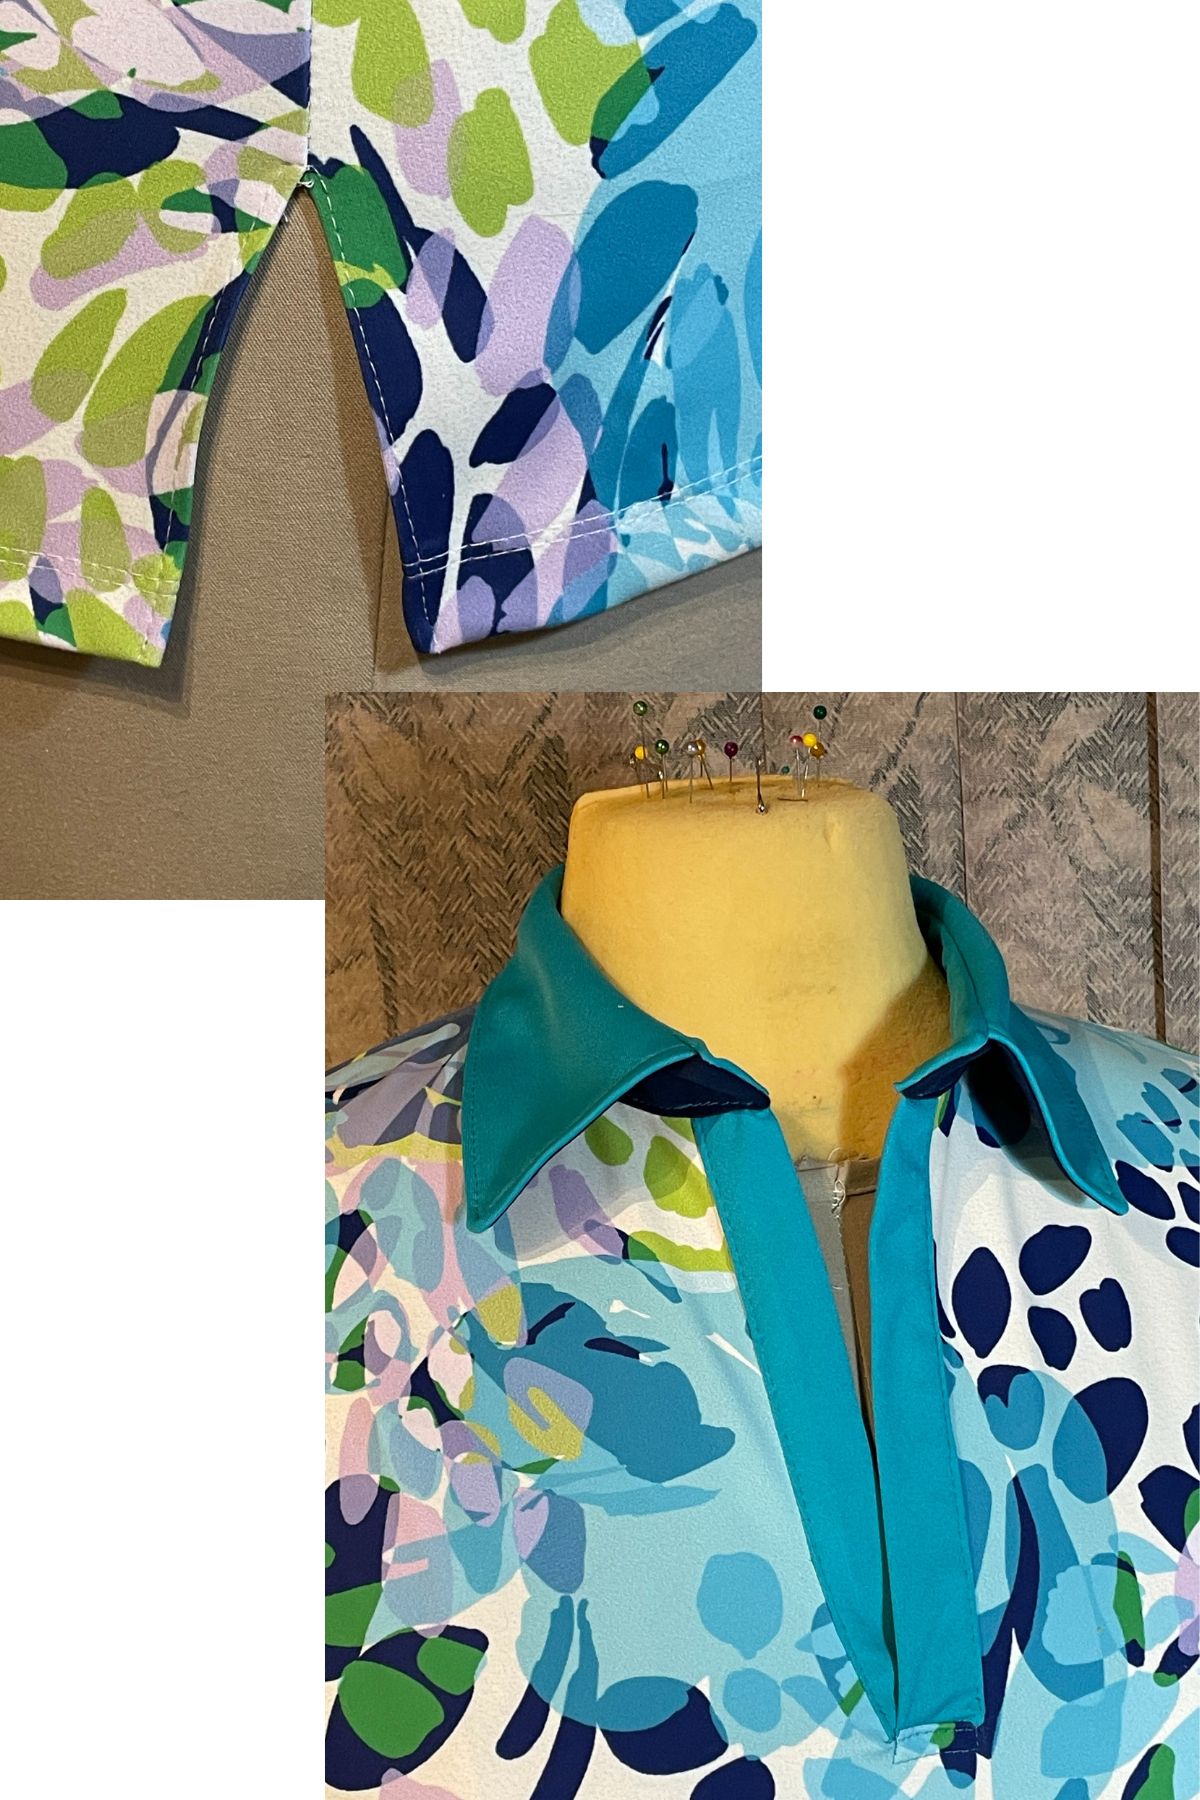
The muslin turned out really well… sewing the placket was pretty tricky because the diagrams were a little hard to make out at first glance, but I just went slowly and triple-checked everything. (Ironically, when sewing the final version I made more mistakes with the placket than on my first try!). The collar shaping is a little bit dated and I wanted a bit more width across the back below the waist. Otherwise, this is a really awesome pattern. The sleeve shaping is excellent!
Here’s the muslin and the final version:

And with that… I am done!!
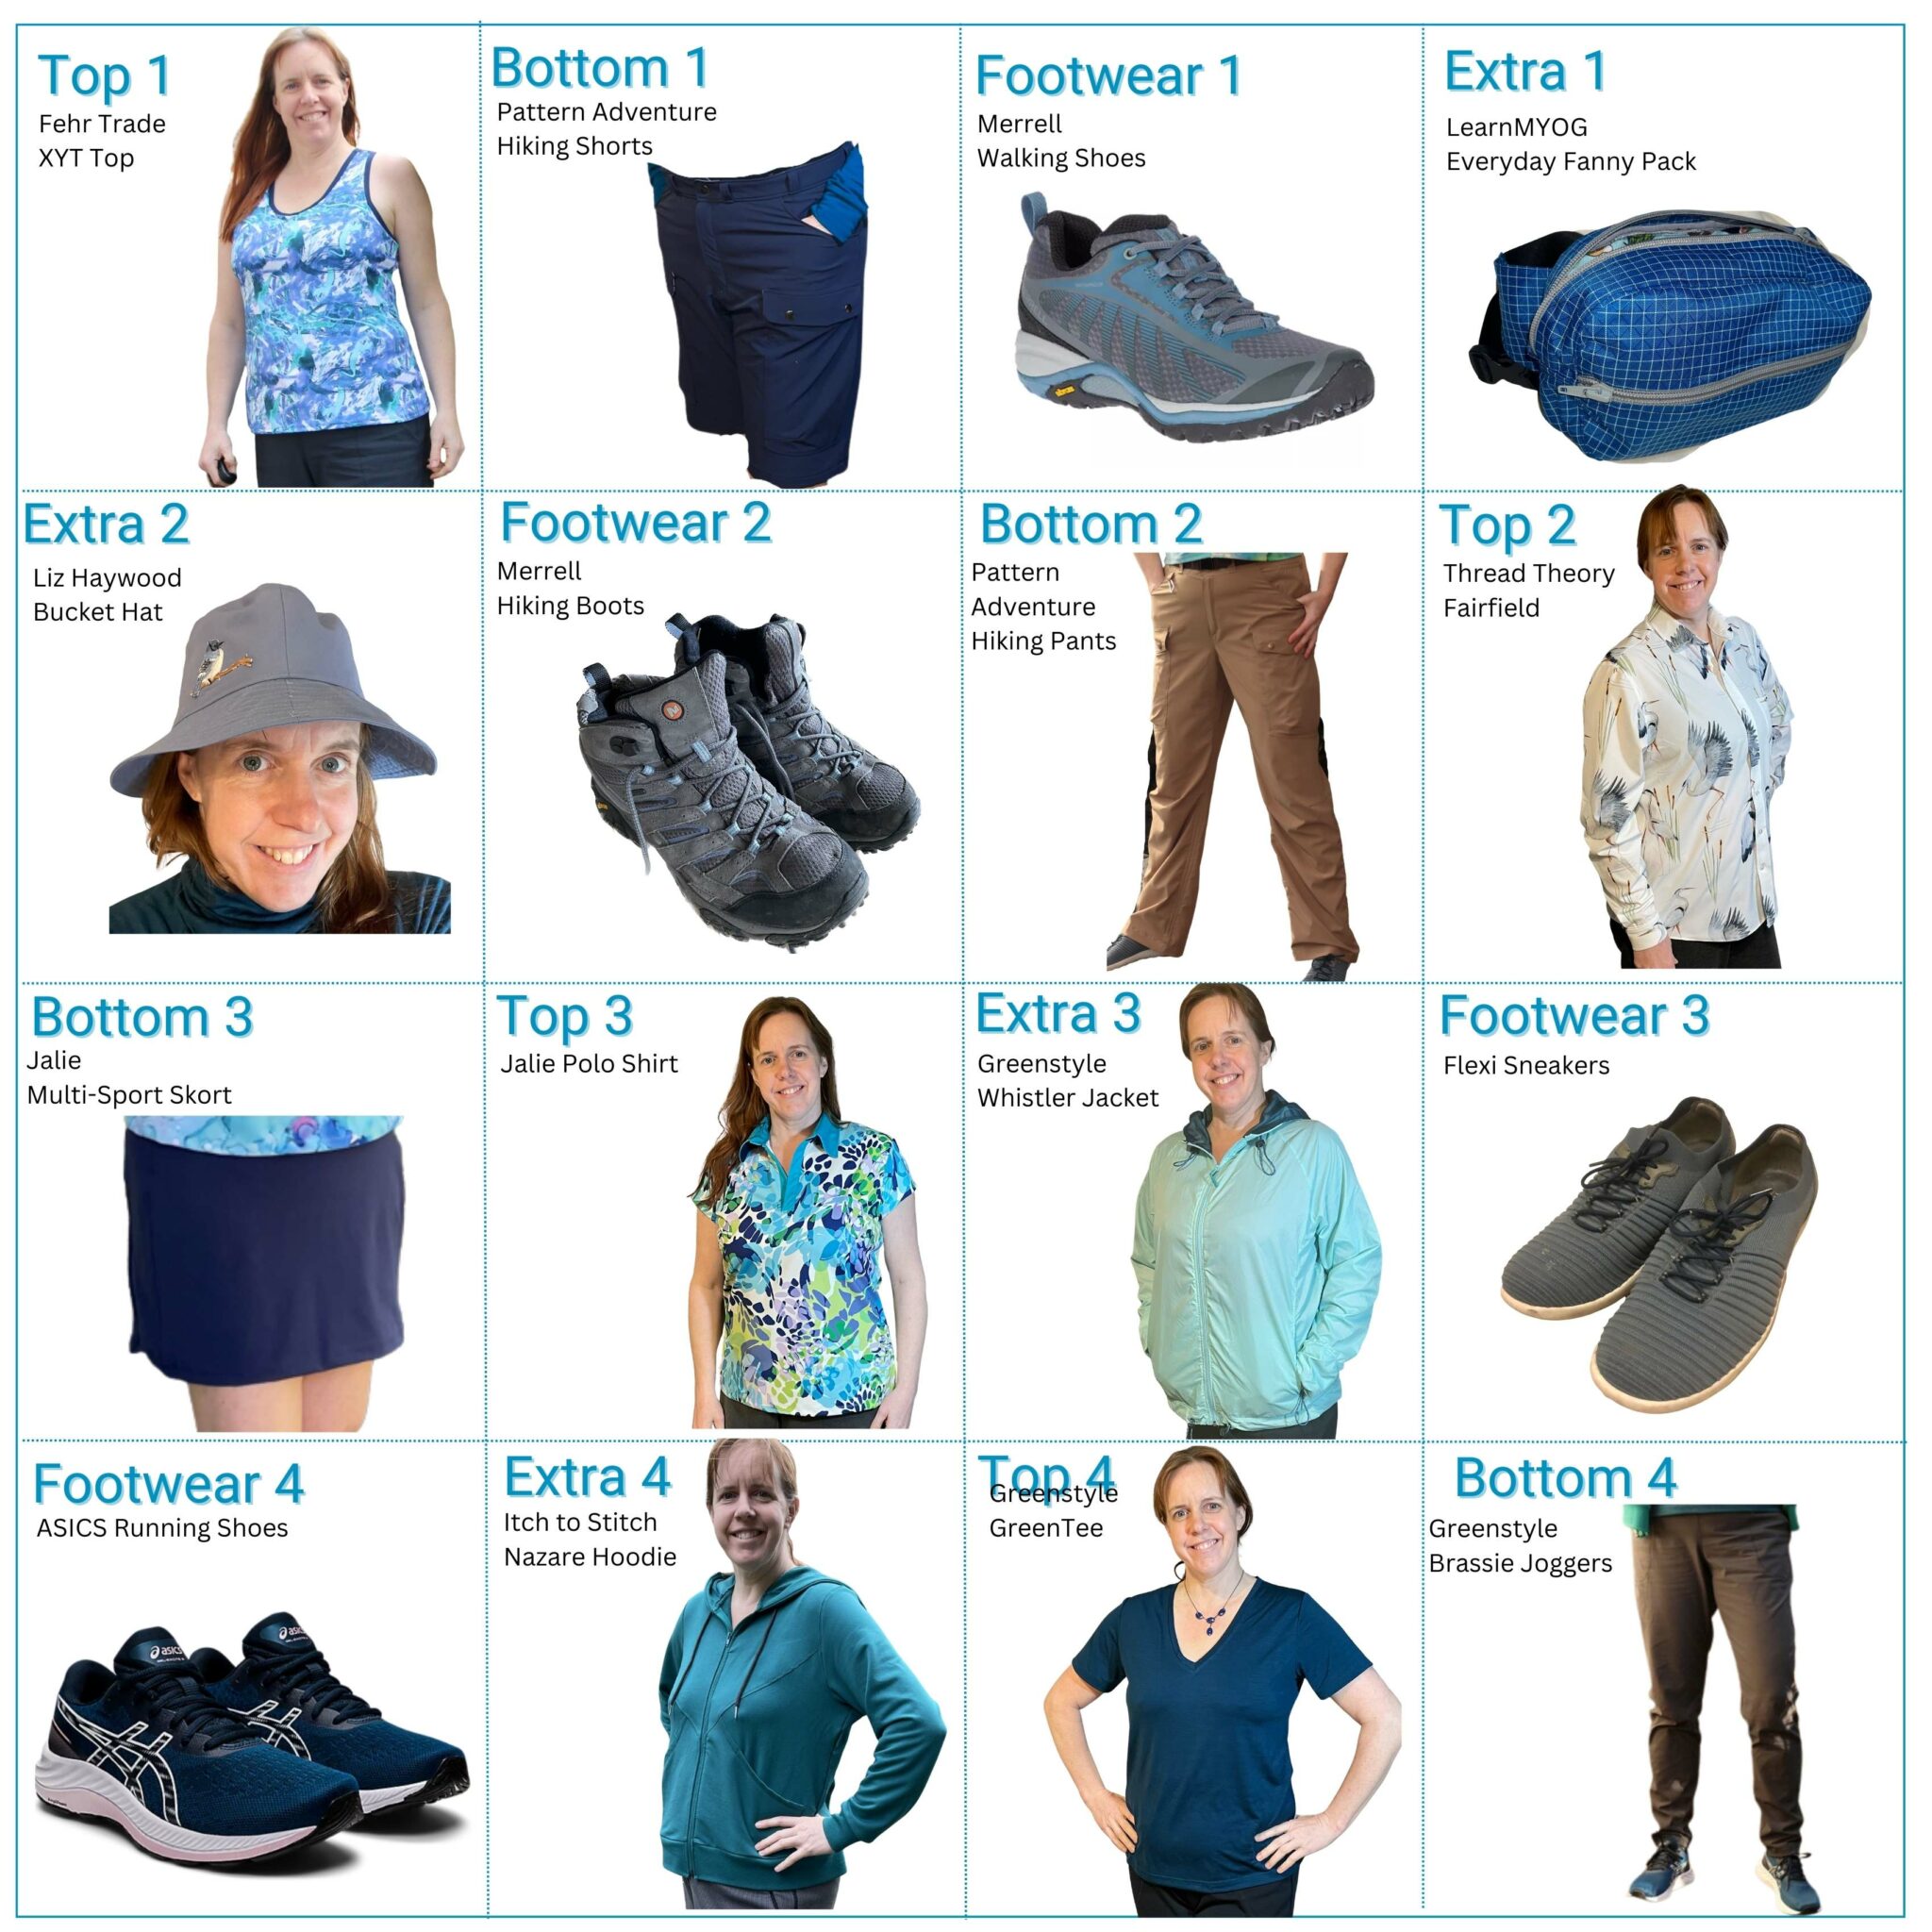
Here’s the Sudoku grid with the final garments in it. I need to re-do photo shoots for the shorts and the skort, and also photograph all the outfits according to the grid.
